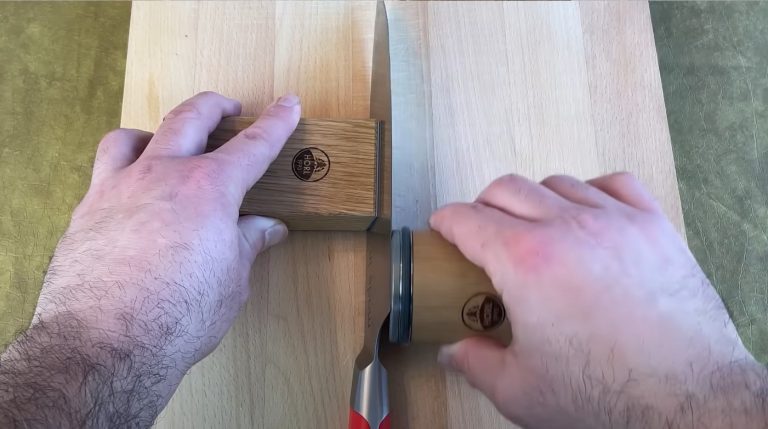
How to Use Chef’s Choice Knife Sharpener: Unlock Precision
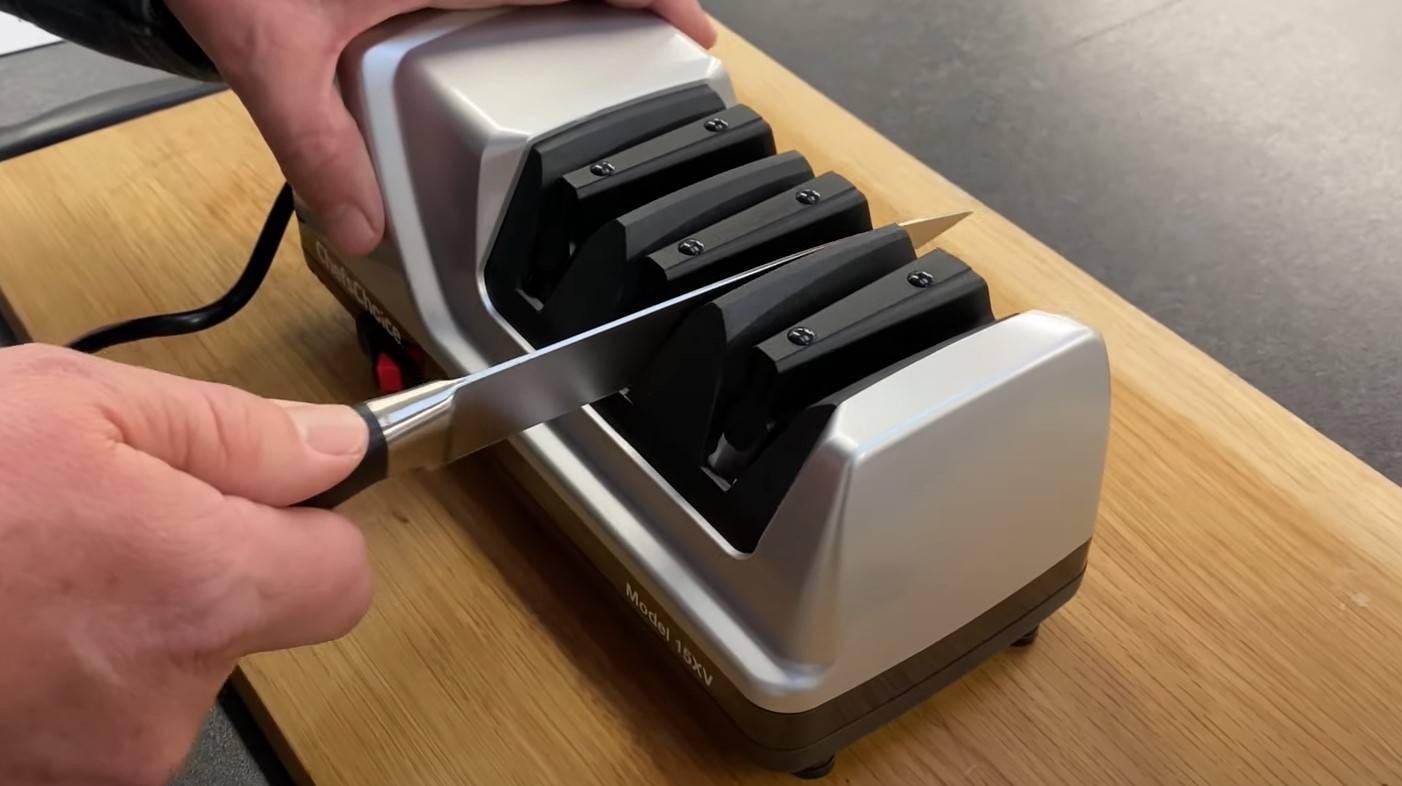
To use a Chef’sChoice knife sharpener, start by ensuring the knife is clean and dry. Choose the appropriate sharpening slot based on your knife type—15° for straight-edge and a specific slot for serrated edges.
Insert the knife and make 8-10 passes, alternating sides for even sharpening. For further honing, use the fine and polishing stages in sequence.
Regular maintenance is key for longevity, and there’s more to discover about techniques and care for your sharpener.
Key Takeaways
- Ensure the sharpener is placed on a stable surface and inspect knives for cleanliness before use.
- Choose the appropriate sharpening slot based on knife type: straight or serrated edges.
- For dull knives, start with the pre-sharpening slot, then proceed to coarse sharpening if needed.
- Make 8-10 passes on each side of the blade through the designated sharpening stages for optimal results.
- Clean the sharpener regularly and wipe its exterior with a soft, damp cloth to maintain performance.
Safety Precautions for Using Chef’sChoice Sharpeners
When using Chef’sChoice sharpeners, it’s important to prioritize safety to prevent accidents and injuries. Start by reading all instructions thoroughly before operation. Make sure your knife blades are clean and never attempt to sharpen damaged blades or cords. Always unplug the sharpener when it’s not in use.
Position the sharpener on a stable surface, avoiding edges or hot areas that could cause accidents. Handle sharpened knives with care, cutting away from your body to minimize injury risk.
Supervise children and individuals with disabilities around the sharpener, making sure they don’t attempt to use it unsupervised. Additionally, using Chef’sChoice sharpeners allows for regular self-sharpening, ensuring you maintain sharp knives with ease.
Choosing the Right Chef’sChoice Model
When choosing the right Chef’sChoice model, consider whether you prefer a manual or electric sharpener based on your sharpening needs and frequency. Each model offers unique features, such as multiple sharpening stages and specialized technology, which can greatly impact performance.
Models like the Chef’sChoice 220, 270, and 290 are popular choices due to their superior cutting edge and effectiveness in sharpening various knife types. Additionally, electric sharpeners provide quick and efficient solutions, making them ideal for busy kitchens.
Manual vs. Electric Sharpeners
Choosing the right Chef’s Choice model hinges on your specific needs and preferences regarding manual versus electric sharpeners.
Here are some key factors to help you decide:
- Speed: Electric sharpeners can sharpen knives in just 15-30 seconds, perfect for busy kitchens.
- Control: Manual sharpeners offer greater control over the sharpening angle, making them ideal for those who prefer precision. Regular honing helps to prevent dullness, ensuring your knives remain effective between sharpenings.
- Portability: If you need something easy to transport, manual sharpeners are often lighter and more compact.
- Skill Level: Beginners may find electric sharpeners easier to use, while experienced users might appreciate the hands-on approach of manual models.
Model Features Comparison
Understanding the features of different Chef’sChoice models can greatly enhance your knife sharpening experience. Each model caters to specific needs, so consider your knives and usage.
For instance, the Model 220 is budget-friendly, featuring CrissCross technology and a manual honing stage, ideal for beginners. If you’re looking for versatility, the Model 290 accommodates both Japanese and American knives with adjustable angles.
Additionally, many sharpeners include multi-stage sharpening systems that can handle various blade types effectively.
For the best overall performance, the Model 270 offers three stages of sharpening. Meanwhile, the Model 250 provides an extensive 3-stage sharpening process with electric stages for coarse and fine sharpening.
This long-lasting performance noted across all models ensures that your knives maintain sharpness comparable to the first day of use.
All models utilize durable diamond abrasives, ensuring sharp edges, while most come with warranties of up to three years, reflecting their robust construction.
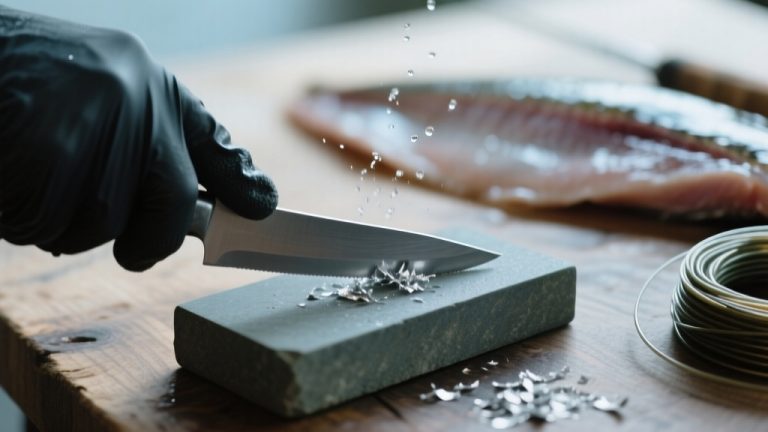
Preparing Your Knife for Sharpening
Before sharpening your knife, it’s important to perform a few pre-sharpening checks to confirm an effective and safe process.
Here are four essential steps to follow:
- Inspect the Knife: Verify there’s no debris or dirt on the blade for a clean sharpening experience. Regular visual inspections maintain optimal knife performance and safety.
- Consider the Angle: Identify the appropriate sharpening angle specific to your knife type, as this is vital for maintaining its edge. Regular maintenance keeps knives sharp and effective.
- Select the Correct Slot: Choose the right sharpening slot on your sharpener, whether it’s for straight or serrated edges.
- Prepare the Sharpener: Position the sharpener on a stable surface, making sure it’s clean and free from debris.
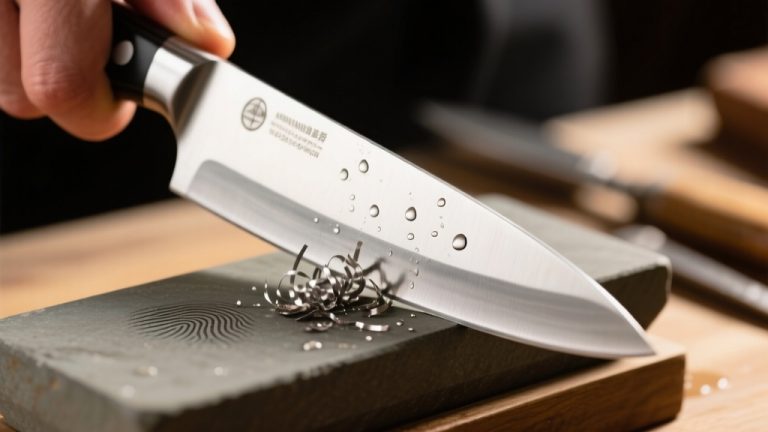
The Initial Sharpening Process Explained
Before you start sharpening, verify your knife is clean and free from debris, as any residue can affect the sharpening process. Familiarize yourself with the sharpening stages your specific model offers, as this will guide you through achieving the finest edge.
Each stage serves a distinct purpose, so understanding them is essential for ideal results. Regular use of the sharpener can significantly reduce the number of passes needed over time, ensuring that your knives remain sharp and efficient.
Additionally, utilizing a sharpener with multiple angles can enhance your ability to maintain various knife types effectively.
Preparing the Knife
To effectively prepare your knife for the initial sharpening process, start by inspecting the blade for cleanliness and debris, as a clean knife guarantees suitable contact with the sharpener.
Follow these steps to guarantee optimal preparation:
- Inspect the Blade: Clean the knife thoroughly to remove any particles.
- Grip Technique: Hold the knife with a secure yet loose grip, allowing the sharpener’s magnets to maintain the blade angle.
- Blade Alignment: Position the heel of the blade in the designated slot without applying downward pressure.
- Sharpening Surface: Use the pre-sharpening slot to establish a basic edge, adjusting time based on blade length (e.g., 3 seconds for a 6″ blade). The sharpener features a two-stage sharpening system that efficiently creates a long-lasting edge in seconds. Regular maintenance of your knife, including frequent sharpening, ensures optimal performance and safety while cooking.
Sharpening Stages Overview
Understanding the sharpening stages is essential for achieving a razor-sharp edge on your knife, as each phase serves a distinct purpose in the sharpening process.
Begin with the initial inspection, checking for nicks or dullness under bright light. If your knife is severely dull, use the pre-sharpening slot.
In the first stage, coarse sharpening utilizes diamond-coated disks to reshape the edge, creating an arch shape while making alternate passes on each side.
This is made possible by the 100 percent diamond abrasives used in the sharpener. Using proper angle control during this stage is crucial for maintaining the knife’s original geometry.
Next, fine sharpening employs medium abrasives to hone the edge, preparing it for polishing.
Resharpening Techniques for Optimal Maintenance
As you maintain your knives, mastering resharpening techniques guarantees they perform at their best.
To keep your Chef’s Choice sharpener effective, follow these steps:
Ensure your Chef’s Choice sharpener performs optimally by following these essential maintenance steps.
- Stage Selection: Use Stage 2 for honing your knife’s edge, followed by Stage 3 for polishing.
- Initial Passes: Make 8-10 passes in Stage 1 to re-angle the blade if needed.
- Alternation Technique: Alternate between both sides of the blade to guarantee even sharpening; this enhances the edge’s longevity. Additionally, remember that ease of use ensures a quick sharpening process, making it accessible for all users.
- Regular Cleaning: Clean the sharpener and knives regularly to prevent debris build-up, guaranteeing consistent performance.
Tips for Effective Knife Sharpening
While sharpening your knives, employing effective techniques can greatly enhance their performance and longevity. Use a Chef’s Choice sharpener for quick sharpening, but if you prefer precision, consider sharpening stones, ensuring you maintain a consistent angle between 15° to 20°.
Regular sharpening can prolong the knife’s lifespan and enhance its performance. Stainless steel knives can be sharpened using various methods to suit your needs.
Utilize angle guides to help with this. When sharpening, alternate strokes on both sides to prevent warping and check for burrs regularly to confirm even sharpening. Always apply even pressure for uniform results. After sharpening, test sharpness using a paper slice or hair-cutting test.
Handling Different Types of Knives
Different types of knives require distinct handling and sharpening techniques to guarantee peak performance.
Here’s how to effectively manage various knife types:
- Straight-Edge Knives: Use a 15° or 20° angle with Chef’sChoice models for precise sharpening. Regular honing extends their life, and using DIAMOND ABRASIVES ensures faster and easier sharpening.
- Serrated Knives: Utilize specialized sharpeners like the Model 250 Hybrid. Focus on the serrations for maximum cutting efficiency.
- Ceramic Knives: Handle with care, as they’re prone to chipping. Use diamond abrasives for effective sharpening.
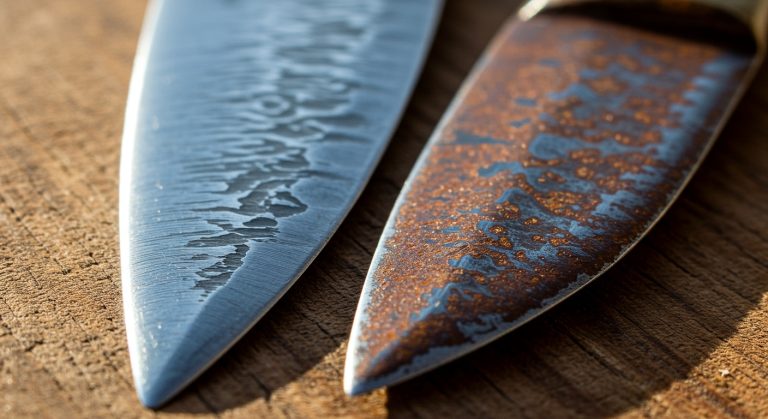
- High-Carbon Steel Knives: Sharpen frequently with diamond abrasives and electric sharpeners. Regular care prevents rust and maintains edge retention.
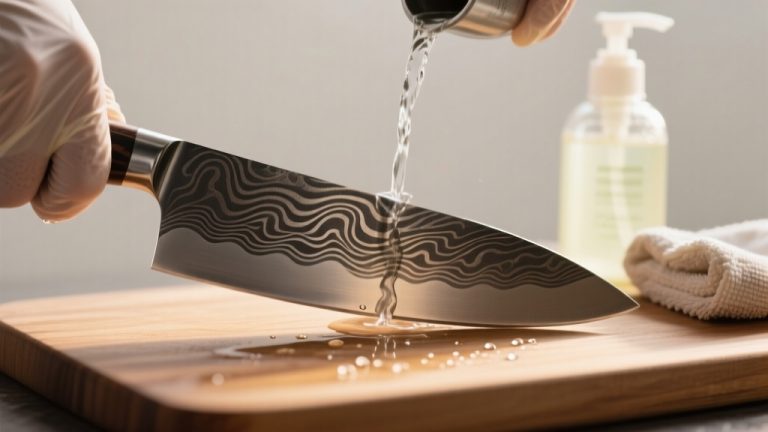
Cleaning and Maintaining Your Sharpener
To keep your knife sharpener functioning at its best, it’s essential to incorporate regular cleaning and maintenance into your routine.
Clean the stropping/polishing disks with a manually activated dressing pad whenever you notice a decrease in polishing efficiency. This will help maintain sharpness and reduce the need for deep cleaning.
Additionally, ensure that you use the sharpener for 15-degree class knives, as it is specifically designed for optimal performance with this type. Using a sharpener correctly enhances knife safety, which is crucial in preventing accidents during food preparation.
For the exterior, use a soft, damp cloth, avoiding any detergents or abrasives that could cause damage.
Periodically, remove the clean-out cover to eliminate accumulated metal dust, ideally once a year. Remember, never immerse the motor unit in water.
Testing Knife Sharpness After Sharpening
How can you confidently assess your knife’s sharpness after sharpening? Testing knife sharpness is vital for peak performance and safety. Here are four effective methods to evaluate your knife’s edge:
Confidently assess your knife’s sharpness with these four effective testing methods for optimal performance and safety.
- Thumb Test: Lightly touch the blade’s edge; it should feel sharp. Over time, excessive metal removal can affect the knife’s sharpness.
- Paper Test: Slice through a sheet of paper at a 45-degree angle; a clean cut indicates sharpness.
- BESS Test: Use a BESS tester to measure the force required to cut; it provides a quantifiable sharpness reading.
- Fingernail Test: Press the blade against your fingernail; if it bites in, your knife is sharp. Additionally, using the thumb test is one of the fastest and most reliable methods to quickly determine sharpness.
Frequently Asked Questions
Can I Sharpen Ceramic Knives With Chef’schoice Sharpeners?
Yes, you can sharpen ceramic knives with specific Chef’s Choice sharpeners, like the 2-Stage Ceramic + Steel Knife Sharpener.
It uses fine ceramic rods designed for this purpose. However, you need to be cautious due to the hardness and brittleness of ceramic.
Follow the manufacturer’s guidelines closely to avoid damaging your knife. Always make certain you’re using the correct model that supports sharpening ceramic blades for the best results.
How Often Should I Sharpen My Knives?
You should sharpen your knives based on usage and type. If you’re a professional using them daily, aim for monthly sharpening.
As a home cook, two to three times a year is generally sufficient.
What Is the Warranty on Chef’schoice Sharpeners?
Chef’s Choice sharpeners typically come with a warranty ranging from one to three years, depending on the model.
For instance, Models 120 and 130 offer a three-year limited warranty, while Model 320 has a one-year warranty.
It’s essential you register your warranty for full benefits and keep your purchase documentation.
Be mindful of exclusions, like misuse or neglect, as they could void your coverage.
Regular maintenance also helps guarantee your warranty remains valid.
Are Chef’schoice Sharpeners Safe for Left-Handed Users?
Maneuvering the world of kitchen tools can feel like a dance, especially for left-handed users. Chef’sChoice sharpeners are designed with you in mind, featuring ambidextrous designs and symmetrical markings that guide your movements.
You’ll appreciate the ergonomic handles that guarantee a comfortable grip, regardless of your dominant hand. Safety remains paramount, so just keep your fingers clear of the blade while sharpening.
With these features, you can sharpen confidently and efficiently.
Can I Sharpen Scissors With Chef’schoice Sharpeners?
You can’t sharpen scissors with Chef’s Choice sharpeners, as they’re specifically designed for knives.
While the brand does offer electric scissor sharpeners using similar technology, the knife sharpeners won’t effectively sharpen scissors due to their unique design.
For best results, you should look for dedicated scissor sharpeners or consult a professional service.
Slice with Confidence: The Power of Proper Sharpening
By following these steps, you’ll keep your knives sharp and ready for action. Remember, a well-maintained knife is like a chef’s best friend, making prep work a breeze.
Regularly sharpening your knives not only enhances performance but also guarantees safety in the kitchen. Don’t hesitate to practice and refine your technique over time.
With diligence and care, you’ll slice through tasks like a hot knife through butter, enjoying the benefits of your hard work for years to come.