How to Sharpen Knife Tip for Precision Cutting?
To sharpen your knife tip effectively, maintain a consistent 10–15° angle and divide the blade into sections to handle the curved tip with shorter, controlled strokes.
Use properly prepared sharpening stones, starting coarse and progressing to fine grit, ensuring smooth motion and even pressure.
Employ angle guides if needed to keep precision and blend edges gently to avoid stress points.
Check for an even burr and polish thoroughly for a durable, sharp finish. Explore further to master advanced tip-specific techniques.
Key Takeaways
- Divide the blade into sections and sharpen the tip at a slightly higher angle (13–14°) with shorter, controlled strokes following the curve’s natural roll.
- Use curved-specific sharpening tools like ceramic or diamond rods to maintain the tip’s geometry and ensure precise edge refinement.
- Raise an even burr along the tip by alternating strokes and gradually refining with finer grits to avoid over-thinning and maintain durability.
- Blend sharpened sections smoothly with gentle, perpendicular strokes and polish the edge using fine grit stones or stropping pads to remove burrs.
- Regularly inspect the tip for nicks, chips, and bevel consistency, using visual and tactile tests to ensure a sharp, even, and durable edge.
Understanding the Geometry and Flex of the Knife Tip
How exactly does the geometry of a knife tip influence its performance? The tip’s bevel angle, typically narrower than the blade’s main edge, determines cutting precision and durability. Selecting the correct bevel angle is essential for balancing sharpness and safety during use, as seen with various safety features.
Precision knives have tip angles around 10–15°, allowing fine cuts but increasing fragility. General-purpose knives use wider angles near 20° for strength. You must maintain consistent bevel length and thickness to avoid weak points prone to chipping. Before sharpening, it is important to examine blade condition to choose the appropriate grit for effective edge restoration.
Flexibility, or tip flex, depends on tip thickness, steel hardness, and taper angle. Thinner tips flex more but risk damage if stressed. Sharpening at overly acute angles enhances sharpness but compromises flex resistance.
Retaining some residual thickness behind the bevel balances sharpness with durability. Incorporating a micro-bevel at the tip can reinforce the edge, optimizing performance without sacrificing flexibility.
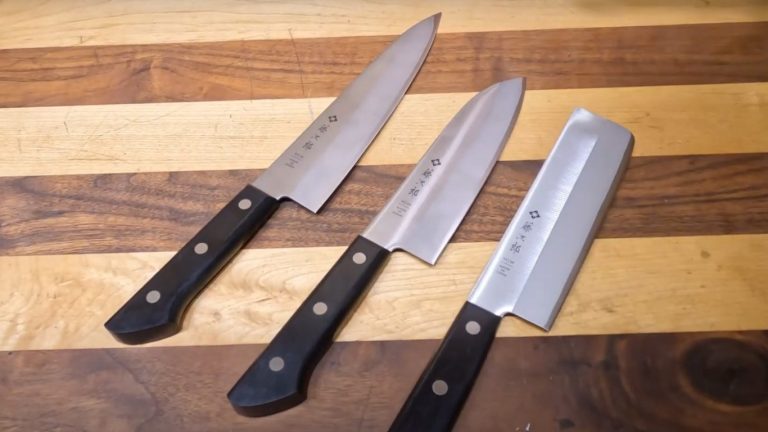
Dividing the Blade for Sectional Sharpening
Sure! Here’s a more conversational version of the text:
First things first, you’ll want to divide the blade into three main sections: the heel, the belly, and the tip. This way, you can sharpen each area with the right angle and pressure, which makes a big difference. By segmenting the blade, you can easily handle any differences in width and shape, helping you keep that edge nice and sharp.
It’s also important to alternate strokes between the left and right sides to maintain consistent bevel symmetry. Maintaining a consistent sharpening angle of 10-15 degrees on the bevel side is key to achieving the perfect edge.
Once you’ve sharpened each section, don’t forget to blend the edges. This step is super important for maintaining a uniform bevel, so you get that seamless cutting performance you’re aiming for.
Segmenting Blade Areas
Since different areas of a knife blade endure varied wear and have distinct geometries, segmenting the blade into heel, belly, and tip zones allows you to hone each section with tailored focus.
Start by visually or mentally dividing the blade to maintain consistent angles and pressure. The heel and belly typically sharpen at 10°–12°, using longer strokes, while the tip needs a slightly increased angle of 13°–14° and shorter, controlled strokes to counter flex and preserve its narrow bevel. Always use smooth, back-and-forth motions with even pressure for consistent sharpening results.
Sharpen each zone individually, applying moderate pressure and alternating sides evenly. Using a bright light such as the sun helps to identify flat spots and nicks on each section to ensure thorough sharpening.
Follow a grit progression from coarse to fine, paying extra attention to the tip’s finishing to achieve a razor-sharp point.
This sectional approach ensures uniform edge integrity and compensates for varying blade wear.
Blending Sharpened Sections
Segmenting the blade into heel, belly, and tip zones allows you to sharpen each area with tailored angles and strokes. However, those distinct sections must be blended smoothly to maintain edge continuity. Maintaining a consistent honing angle is crucial to avoid uneven wear and ensure edge retention.
Maintain a consistent angle across adjacent sections to prevent edge mismatch and step formation. Slightly raise the angle from belly to tip to compensate for flex and reduce scratches.
Use perpendicular stone strokes on the tip with short, controlled passes to preserve its profile. Gradually increase the angle through multi-step honing, thinning the edge progressively to ensure a smooth progression without abrupt bevel changes. It is important to keep the stone moist and splash water if it feels dry during use to facilitate effective sharpening and prevent damage to the stone stone moisture maintenance.
After sectional sharpening, apply light overlapping strokes across boundaries to level ridges. Confirm seamless blending visually under good light and by tactilely testing the edge for uniform sharpness and profile integrity. Always use light pressure while honing to avoid slips and maintain precise control.
Selecting and Preparing Sharpening Stones
To sharpen your knife tip effectively, you’ll want to pick out stones with the right grit sizes for each stage of sharpening. Start with a coarse stone for reshaping and then move on to a finer one for polishing.
It’s really important to keep your stones in good shape—cleaning and flattening them regularly is key to ensuring you get consistent contact and the best cutting performance.
Synthetic stones, made from artificial corundum, offer precise grain sizes and consistent surface quality, making them ideal for controlled sharpening. Using a 15-20 degree angle during sharpening helps maintain optimal edge sharpness and durability.
Stone Grit Selection
When selecting sharpening stones, you need to match the grit to your knife’s condition and your sharpening goals. Coarse, medium, and fine grit stones each serve distinct purposes in restoring and refining your blade tip. Follow this guide to choose effectively:
- Use coarse grit (80–800) to repair chips or reshape dull tips. Avoid overuse to prevent edge damage.
- Select medium grit (700–3000) for routine sharpening and moderate edge maintenance.
- Employ fine grit (2000–8000+) to polish and hone your edge to razor sharpness or mirror finish.
- Factor your skill level: beginners should stick to coarse and medium grits before moving to ultra-fine stones.
Stone Maintenance Tips
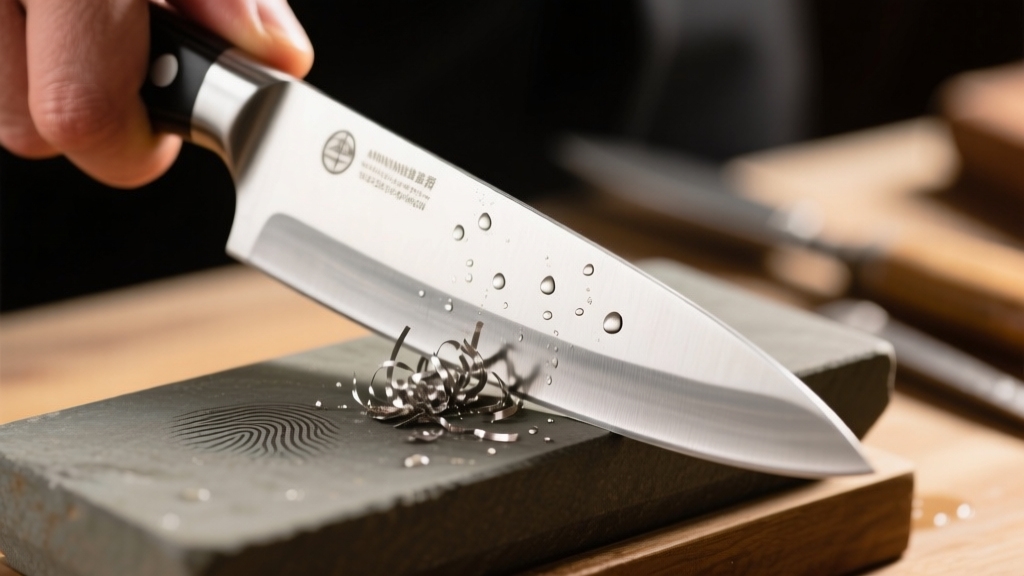
Although sharpening stones are designed for durability, proper maintenance is essential to preserve their effectiveness and lifespan. Before use, dampen whetstones with water for 20-30 minutes to optimize slurry formation.
After each session, clean stones with soap, water, and a firm brush to remove metal filings and lubricant residues. For stubborn grime, apply honing oil or spray WD-40 and gently scour with fine steel wool.
Avoid harsh chemicals; use stone-safe cleaners or isopropyl alcohol sprays. Over time, flatten stones to restore a flat surface using coarser lapping stones or diamond-coated flatteners on stable surfaces.
Store stones dry at room temperature, away from direct sunlight or sealed containers, to prevent warping or mold. Label and inspect stones regularly to maintain peak performance and prevent damage.
Regular honing with a sharpening stone between sharpening sessions helps maintain consistent blade sharpness.
Maintaining Consistent Sharpening Angles at the Tip
Because the knife tip tapers and demands delicate handling, maintaining a consistent sharpening angle requires both visual cues and tactile sensitivity.
Sharpening the tapered knife tip demands careful angle control guided by both sight and touch.
To achieve precision, use these key techniques:
- Mark the bevel with a permanent marker and observe where ink is removed to confirm consistent angle maintenance.
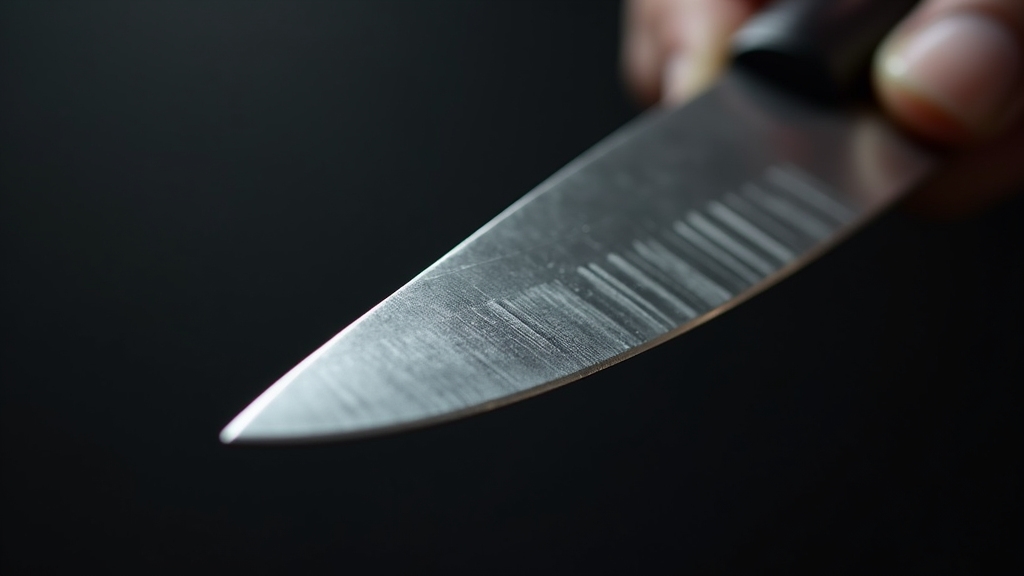
- Feel for a uniform burr along the tip, adjusting your angle to ensure even edge formation.
- Lock your wrist and use full-arm movement to keep a steady angle, avoiding sudden shifts near the tip. Maintaining the proper angle is crucial for knife performance and longevity.
- Employ multiple light, controlled strokes focused on the tip area, gradually refining the angle without over-thinning fragile material. Using a sharpening stone or wheel with consistent motion can help preserve the delicate tip while achieving precision.
Using Physical Angle Guides and Tools
Mastering consistent sharpening angles at the knife tip can challenge even experienced sharpeners, especially given the tip’s delicate taper.
Using physical angle guides, like clip-on attachments or wedge guides placed on the stone, helps you maintain exact angles from heel to tip. Regular honing with tools such as these supports optimal performance and prolongs edge integrity.
Steel guides offer rigidity and repeatability, ensuring durability through repeated use, while plastic versions provide lightweight convenience.
Adjustable guides let you set angles between 10° and 25°, accommodating various blades.
To apply them correctly, clip-on guides must fit snugly, aligning the tip properly on the stone; wedge guides should be secured firmly for stable contact.
Marking the bevel with a marker helps you monitor material removal and angle consistency.
These tools eliminate guesswork, protect your blade, and increase sharpening efficiency by providing a stable, fixed reference at the tip.
For best results, consider a 2-piece set designed specifically for precise blade alignment and consistent sharpening outcomes.
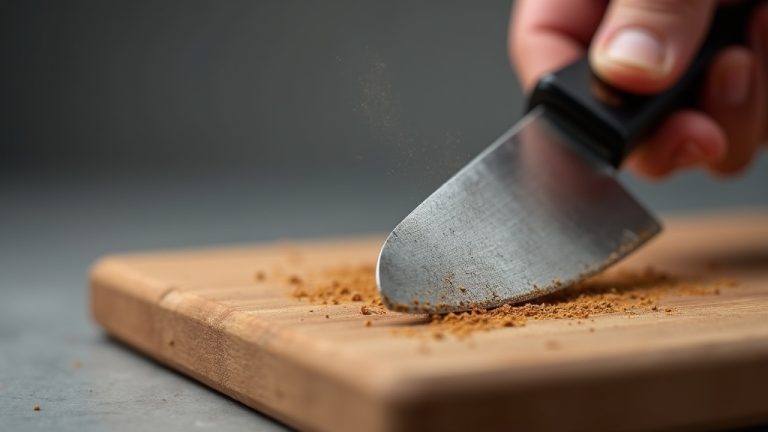
Applying Proper Sharpening Strokes and Pressure
When you apply sharpening strokes, maintaining consistent direction and controlled pressure is essential for achieving a precise edge, especially at the knife tip.
Use edge-leading strokes carefully, favoring edge-trailing strokes on stropping surfaces to protect the edge and leather.
Prefer edge-trailing strokes on stropping surfaces to maintain edge integrity and protect the leather.
Apply firm pressure initially on coarse grits, then reduce it gradually through finer grits to polish without over-thinning the tip’s delicate steel. This technique parallels the precision control needed in texture and consistency adjustments in food preparation.
Follow these key points:
- Keep stroke direction straight and consistent, moving away from the tip to prevent rounding. It is also important to use the full length of the stone to avoid uneven wear on the whetstone surface.
- Use longer, even strokes on the stone’s sides for uniform wear and smooth bevels, similar to how a food mill achieves smooth purees with steady processing.
- Maintain steady pressure to ensure even burr formation and stable sharpening angles.
- Lighten pressure as you near the tip to avoid damaging its thinner geometry and preserve sharpness.
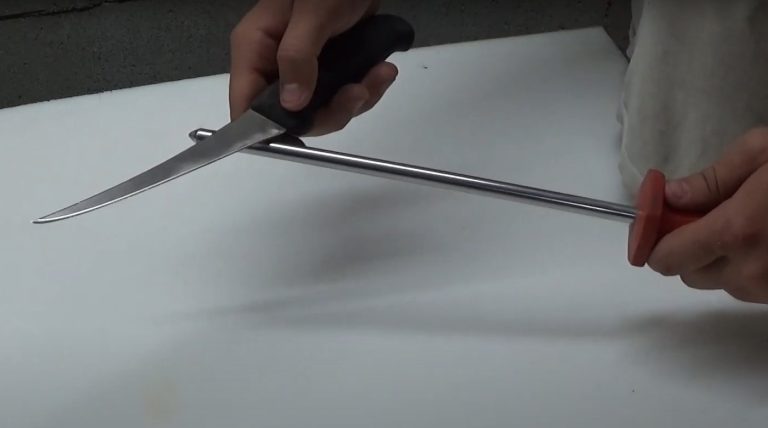
Techniques for Sharpening the Curved Tip Area
Although sharpening the curved tip demands more attention than straight edges, you can achieve ideal results by matching the existing bevel angle precisely and selecting the right tools.
Use ceramic or diamond-coated rods shaped to fit the curve, such as tapered or conical rods, to maintain consistent contact. Position your knife flat on its side and apply controlled pressure near the tip, employing short, steady strokes that follow the curve’s natural roll.
Adjust wrist rotation either toward or away from the spine to optimize edge contact without altering the bevel angle. Focus on raising an even burr along the entire curved tip, then refine it with finer grit stones or rods. After sharpening, it is crucial to dry the knife completely to prevent any risk of rust formation.
Avoid lingering on spots to prevent overheating and uneven wear. This technique preserves the slightly convex bevel essential for smooth, effective cutting.
For best results, use sharpening tools that match the curvature of the blade to maintain efficiency and edge integrity.
Blending Sharpened Sections for a Smooth Edge
Since sharpening a blade in smaller sections enhances control and precision, especially for large or curved knives, you’ll want to carefully reposition the knife as needed to maintain ideal stone contact and angle. This approach aligns with traditional Japanese bladesmith techniques that emphasize sectional sharpening mastery.
After sharpening all sections, blending them into a seamless edge is vital to avoid bumps or irregularities. Maintain a consistent sharpening angle throughout blending to preserve uniform bevel geometry.
To blend sharpened sections for a smooth edge, follow these steps:
- Use gentle, controlled strokes along the entire edge length, alternating sides frequently.
- Extend strokes slightly beyond the tip to prevent abrupt transitions.
- Employ fine grit stones or stropping to polish and remove burrs.
- Ensure consistent stone contact and stroke control to maintain edge shape and avoid rounding.
Checking Sharpness and Refining the Final Edge
Before you consider the sharpening process complete, you need to thoroughly check the sharpness of your knife tip and refine the final edge to guarantee ideal performance.
Use visual inspection, thumbnail, and cutting tests to detect dullness or damage. Refine the edge by maintaining consistent angles, employing sectional sharpening, and polishing with finer grits or stropping. Remember that the tip is the hardest part to sharpen, so focus more time on this area to achieve the best results.
| Method | Purpose | Tool |
|---|---|---|
| Visual Inspection | Detect nicks, chips, bevel inconsistencies | Magnifier |
| Thumbnail Test | Assess edge resistance | Fingernail |
| Polishing | Remove burrs, smooth edge | Stropping Pad or Fine Stone |
Frequently Asked Questions
Can I Sharpen a Serrated Knife Tip Using the Same Method?
No, you can’t sharpen a serrated knife tip using the same method as a plain edge.
Serrations need individual attention with a ceramic or diamond rod sized to fit each groove.
You’ll sharpen each serration by gently stroking the rod through the gullet, matching the bevel angle.
Using flat stones or standard sharpeners will damage serrations or won’t sharpen effectively.
Proper tools and technique maintain the serrated profile and ensure sharpness.
How Often Should I Sharpen the Knife Tip Compared to the Rest of the Blade?
You should sharpen the knife tip about as often as the rest of the blade since the edge is continuous. However, if you use the tip frequently for piercing or precision cuts, it may dull faster and need minor touch-ups more often.
To avoid uneven edges, sharpen the entire blade simultaneously, focusing on balanced maintenance. Regular honing can also prolong sharpness, reducing the need for frequent sharpening sessions.
What Are the Best Knife Brands That Hold a Sharp Tip Longer?
Imagine relying on your Shun knife during a busy dinner prep; its VG-10 steel keeps the tip razor-sharp longer than most.
You’ll find Japanese brands like Shun and Miyabi excel in tip longevity, thanks to their hard steels and steep edge angles.
If you want durability under heavy use, German brands like Wüsthof are solid but less sharp.
For extreme edge retention, specialty steels like Maxamet or S90V in premium knives perform exceptionally well.
Can Electric Sharpeners Damage the Knife Tip?
Yes, electric sharpeners can damage your knife tip if you’re not careful. Overheating from prolonged sharpening weakens the metal, and harsh abrasives may remove too much material, causing uneven edges.
Lack of precise angle control often leads to a misshapen or fragile tip. To protect your knife, use sharpeners with diamond abrasives and angle guides.
Apply minimal pressure, avoid extended sharpening times, and maintain the device regularly for consistent, safe results.
How Do I Prevent Rust After Sharpening the Knife Tip?
Think of your knife tip like a freshly painted fence. It needs immediate protection. Right after sharpening, apply a thin coat of food-grade mineral oil to block moisture and prevent rust.
Rinse off metal debris, dry thoroughly, and store your knife in a dry place away from other metals.
Reapply oil regularly, especially if you use the knife often.
This routine guarantees your blade stays sharp and corrosion-free, just like that fence stays pristine with regular sealing.
Sharpen Knife Tip Today and Elevate Every Cut
Now that you’ve mastered every precise angle and perfected each stroke, your knife tip will slice through anything like a hot knife through butter. Effortlessly, cleanly, and with surgical precision.
Forget dull edges that frustrate you; your sharpened tip will glide through tasks as if the blade itself is alive. With consistent technique and attention to detail, you’re not just sharpening a knife; you’re crafting a tool that commands respect in every cut.