How to Sharpen a Boning Knife: The Key to Effortless Cuts
To sharpen your boning knife, start by selecting a suitable whetstone and soaking it if necessary. Maintain a consistent angle of 20-30 degrees while using coarse grit to eliminate nicks and progress to finer grits for polishing.
Use smooth, even strokes, and create a burr for a sharper edge. Regularly hone your knife and wash it after use to prolong its life.
If you’re looking for more tips and techniques, there’s plenty more to explore.
Key Takeaways
- Prepare your whetstone by cleaning it and soaking traditional stones for 15-30 minutes before sharpening.
- Maintain a sharpening angle of 20-30 degrees, adjusting based on the knife material and intended use.
- Start with a coarse grit stone to remove nicks, then progress to finer grits for a refined edge.
- Create a burr along the edge to ensure sharpness, flipping the knife to achieve even sharpening on both sides.
- Polish with high-grit stones (6000-8000 grit) after sharpening to enhance the blade’s smoothness and longevity.
Understanding the Boning Knife and Its Uses
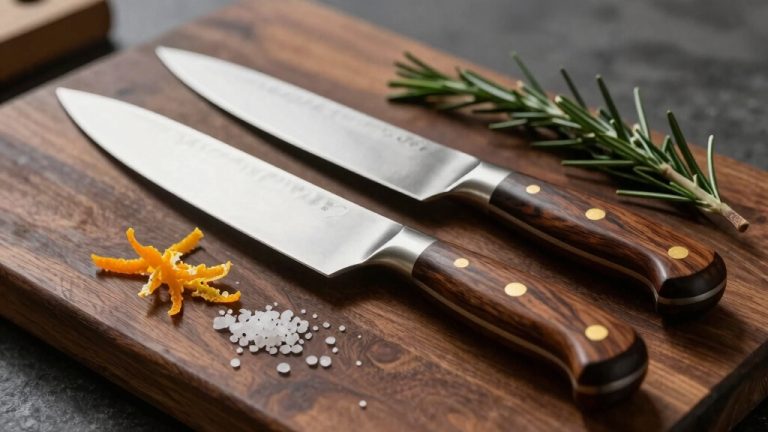
A boning knife is an essential tool in any kitchen, designed specifically for separating meat from bones with precision.
Typically, its blade ranges from 5 to 7 inches, giving you the reach you need while maintaining control. The narrow, thin blade reduces resistance, allowing for delicate cuts, while the pointed tip makes piercing meat and maneuvering tight spaces effortless.
This knife’s thin blade design is particularly effective in reducing drag, ensuring clean, precise cuts.
Its semi-flexibility enables precise maneuverability around bones and joints, making it perfect for deboning poultry and trimming excess fat. You can also use it for filleting fish and performing precise cuts on fruits and vegetables.
Compared to other knives, a boning knife strikes a balance between durability and finesse, making it a versatile choice for various culinary tasks.
Additionally, the type of boning knife selected can greatly influence the efficiency of the cutting process based on the meat being prepared.
Essential Tools for Sharpening
Sharpening a boning knife effectively requires the right tools to achieve ideal results.
Start with sharpening stones, which come in various grits; coarse for removing nicks, fine for sharpening, and extra fine for polishing. Diamond stones are recommended for sharpening due to their hardness, making them an efficient choice for achieving a sharp edge quickly.
Honing rods help realign and maintain the knife’s edge between sharpenings.
If you prefer convenience, electric sharpeners can quickly grind the edge with minimal effort.
Finally, use stropping tools to polish and refine the edge, removing excess metal for a smoother cut.
Preparing Your Whetstone
To achieve the best results while sharpening your boning knife, preparing your whetstone is an important step.
Start by placing the whetstone on a stable surface; this prevents movement during sharpening. Use a towel or cloth underneath to keep it from slipping. It’s essential to understand grit levels to select the appropriate whetstone for your knife’s condition.
The right grit can significantly impact the effectiveness of sharpening angles, ensuring a sharper and more precise edge.
Before use, clean the whetstone to remove any debris or old metal particles. If the stone has been stored wet, let it dry completely to avoid slipping.
Inspect the surface for any cracks or damage. If you’re using a traditional Japanese whetstone, soak it in water for 15-30 minutes until bubbles stop appearing, indicating full saturation.
Determining the Correct Sharpening Angle
How do you determine the correct sharpening angle for your boning knife?
Start by considering the knife’s purpose. Boning knives generally require angles between 20-30 degrees, balancing sharpness and durability. A lower angle yields a sharper edge but risks damage, while a higher angle offers more durability.
The razor-sharp edge is crucial for effective use, as a dull knife can rip meat and waste it. Proper blade design also influences the sharpening angle to ensure optimal performance.
Check manufacturer recommendations Global suggests 10-15 degrees for sharper knives, while Shun recommends 16 degrees.
Assess the knife material and the tasks you’ll perform; softer steels may need finer grit stones.
Step-by-Step Sharpening Techniques
Three key techniques will guarantee your boning knife gets the sharp edge it needs. Follow these steps for effective sharpening:
- Start with Coarse Grit: Begin with a coarse grit stone to remove nicks and imperfections.
- Progress to Finer Grit: Gradually move to finer grit stones to refine the edge for ideal sharpness.
- Create a Burr: Sharpen until you feel a burr along the edge, signaling that you’re close to achieving a sharp finish.
- Flip and Repeat: Turn the knife over to sharpen the other side, ensuring evenness and symmetry.
Polishing the Edge for a Fine Finish
To achieve a fine finish on your boning knife, start by selecting higher grit stones, such as 6000-8000 grit, for polishing. Super Fine Stones are essential for this step as they facilitate a mirror-like finish.
After sharpening, inspect the edge thoroughly under a light source to identify any remaining imperfections. Use gentle, alternating strokes with your polishing tools to refine the edge and enhance its performance, as maintaining proper sharpening angles is crucial for optimal results.
Choosing Higher Grit Stones
When it comes to achieving a pristine edge on your boning knife, selecting the right higher grit stone is essential. Higher grit stones, ranging from 3000 to 8000 grit, will help you refine the edge and create a mirror finish.
Here’s what to evaluate:
- Grit Range: Choose stones above 3000 grit for high-hardness blades.
- Stone Type: Opt for ceramic whetstones for durability and effectiveness.
- Technique: Use minimal pressure and fewer passes to avoid damaging the blade, as higher grit stones require a lighter touch to maintain the blade’s integrity.
- Edge Refinement: Higher grits polish out imperfections from lower grits, enhancing sharpness.
Final Edge Inspection
Final edge inspection is essential for verifying your boning knife is ready for precise and efficient cuts. This step helps you identify any imperfections and guarantees a clean edge, reducing the risk of accidents.
By carefully examining the blade, you can also determine if adjustments to your sharpening technique are necessary, ultimately enhancing the knife’s performance.
Utilizing a diamond honing rod during this inspection can further ensure that the edge remains sharp and well-maintained. Regular visual inspections are key to maintaining optimal knife performance.
| Inspection Step | Purpose |
|---|---|
| Visual Check | Identify visible imperfections |
| Light Test | Verify the edge slices through paper |
| Fingernail Test | Feel for sharpness and smoothness |
Techniques for Polishing
Polishing your boning knife is essential for achieving a sharp, refined edge that enhances performance during use. Proper polishing techniques can greatly improve your knife’s efficiency. Here are some key aspects to take into account:
- Choose the Right Stone: Use high-grit stones (6000-8000 grit) for a fine finish.
- Maintain Consistent Angles: Keep a sharpening angle of 20-30 degrees throughout the process.
- Use Smooth Strokes: Apply light, even pressure with smooth strokes to remove imperfections.
- Polish Regularly: Always polish after sharpening and before storing your knife. Regular polishing not only ensures a fine edge but also helps extend knife lifespan.
Maintaining Your Boning Knife
To keep your boning knife in ideal condition, regular maintenance is essential.
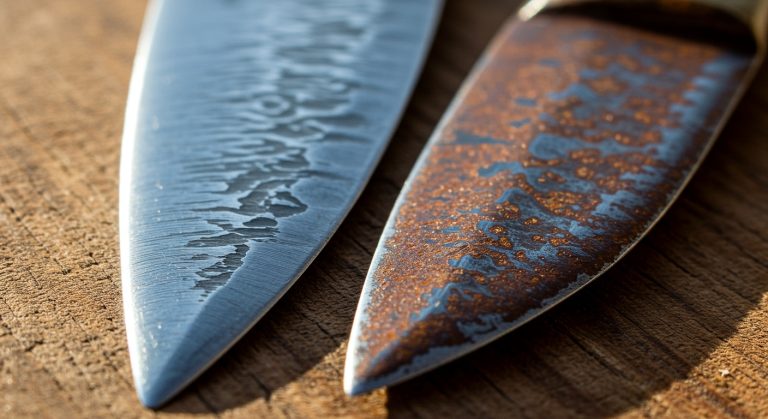
Always hand wash your knife with mild soap and water after each use, then dry it thoroughly to prevent rust and corrosion. A sharp boning knife guarantees precision in de-boning meat, making it crucial to maintain its sharpness.
Using a honing rod regularly helps to maintain the knife’s edge geometry, which is essential for consistent performance.
Store the knife in a protective sheath or knife block, and never place it in the dishwasher, as this can dull the blade.
Regularly hone your knife using a honing rod to realign the edge, maintaining its sharpness.
Avoid cutting on hard surfaces like stone or glass, and handle your knife carefully to prevent dropping.
For long-term preservation, keep it in a dry, cool place and consider applying a light coat of oil to protect the blade from environmental factors.
Signs That Your Knife Needs Sharpening
A well-maintained boning knife is essential for efficient food preparation, but recognizing when it needs sharpening is just as important. Here are some signs to look for:
- Difficulty Slicing Delicate Foods: You struggle to cut through tomatoes or onions without pressing too hard. This could indicate that your knife is not sharp enough.
- Resistance When Cutting: You notice your knife requires more force when slicing meat or vegetables, suggesting it may benefit from regular sharpening.
- Crushing Instead of Cutting: The knife crushes the outer layers of food instead of making clean cuts.
- Visible Nicks or Unevenness: You see visible nicks, unevenness, or a dull appearance along the blade.
Safety Tips While Sharpening
Recognizing when your boning knife needs sharpening is just the beginning; ensuring your safety during the sharpening process is equally important.
First, set up a clean, well-lit workspace, free from distractions. Always wear gloves and safety glasses to protect yourself from accidents. Keep a first aid kit nearby for emergencies. Establishing a consistent angle is crucial for effective sharpening to prevent any mishaps.
Handle the knife with care, and never try to catch it if it falls. Always move the knife away from your body and use a claw grip to keep fingers safe.
Avoid sharpening on hard surfaces and store knives properly in a block or sheath.
Finally, maintain a consistent sharpening angle and apply gentle pressure to prevent damage. Stay focused to avoid accidents.
Troubleshooting Common Sharpening Issues
When your boning knife isn’t cutting as it should, it’s time to identify signs of dullness, like tearing instead of slicing.
Adjusting your sharpening technique can make a significant difference; make certain you’re using the right angle and consistent pressure. Maintaining a consistent angle during sharpening is crucial for achieving a sharp edge.
Additionally, using a sharpening angle that matches your knife’s steel type will enhance its performance and edge durability.
Identifying Dullness Signs
Dullness in a boning knife can greatly hinder your culinary tasks, making it essential to identify the signs early. Here are four key indicators to watch for:
- Difficulty in Slicing: You notice it takes extra force to cut through food.
- Crushing Instead of Cutting: Soft foods, like tomatoes, get squished instead of sliced.
- Uneven Cuts: Your knife leaves jagged, uneven edges on your ingredients.
- Increased Effort Required: You find yourself applying more pressure to achieve cuts. Dull knives can cause unexpected blade directions, which increases the risk of accidents.
If you recognize these signs, it’s time to sharpen your knife. Ignoring dullness can lead to accidents, as dull knives slip more easily, increasing safety risks in the kitchen.
Adjusting Sharpening Technique
Adjusting your sharpening technique can resolve common issues that arise during the process.
If you’re struggling with a dull or uneven edge, first check your sharpening angle; it should be between 20-30 degrees for most boning knives. If you haven’t formed a burr, switch to a finer grit stone to refine the edge after burr formation.
To tackle an uneven edge, maintain consistent pressure and angle throughout the sharpening session. Avoid over-sharpening, which weakens the blade; instead, use a honing steel regularly to maintain sharpness. Using a coarse sharpening stone initially can help establish a solid edge before moving to finer grits.
If you notice nicks or dull spots, start with a coarser grit to smooth out the edge before refining it.
Frequently Asked Questions
Can I Sharpen a Boning Knife Without a Whetstone?
Yes, you can sharpen a boning knife without a whetstone. Consider using sandpaper on a mousepad for an effective makeshift surface.
Alternatively, a nail file or emery board works well; just run the knife along the rough side. You can also try a leather belt to hone the edge.
However, be cautious of potential damage and inefficiency with these methods. Regular honing and proper technique will help maintain your knife’s sharpness.
How Often Should I Hone My Boning Knife?
Did you know that honing your knives weekly can extend the time between sharpenings by up to 50%?
To keep your boning knife performing at its best, you should hone it regularly. If you’re a home cook, aim for weekly honing, while professionals might do it daily.
Use a honing rod or fine-grit stone, applying consistent pressure and motion. This practice not only maintains the edge but also guarantees safety and precision in your cuts.
What’s the Difference Between Honing and Sharpening?
Honing and sharpening serve different purposes.
When you hone, you’re aligning the knife’s edge without removing metal, which keeps it feeling sharp. You should do this frequently, ideally after each use.
On the other hand, sharpening involves removing metal to restore a dull edge, and you’ll typically do this less often, about twice a year.
Are There Any Special Techniques for Sharpening Flexible Boning Knives?
Think of sharpening a flexible boning knife like tuning a fine instrument; precision is key.
To get it right, stabilize the handle to prevent flexing, and use curved stones for the heel. Create a consistent burr on both sides before switching to finer grits, and alternate your strokes to keep the edge balanced.
Can I Use Oil on My Whetstone Instead of Water?
Yes, you can use oil on your whetstone, but it’s less common.
Oil reduces friction, prolonging the stone’s life, making it effective for sharpening. Just make sure your stone’s binder can handle oil; otherwise, stick to water.
If you choose oil, remember to clean the stone after use to prevent residue buildup.
Stay Sharp: Unlock the Full Potential of Your Boning Knife
By sharpening your boning knife regularly, you guarantee precision in your cuts, enhance your cooking experience, and prolong the knife’s lifespan.
Follow the steps to maintain its edge, keep your tools handy, and always prioritize safety. Remember to recognize the signs of dullness and address issues promptly.
With practice, you’ll master the art of sharpening, achieving a razor-sharp blade that makes boning meat easier and more efficient. Your culinary skills will shine with a well-maintained knife in hand.