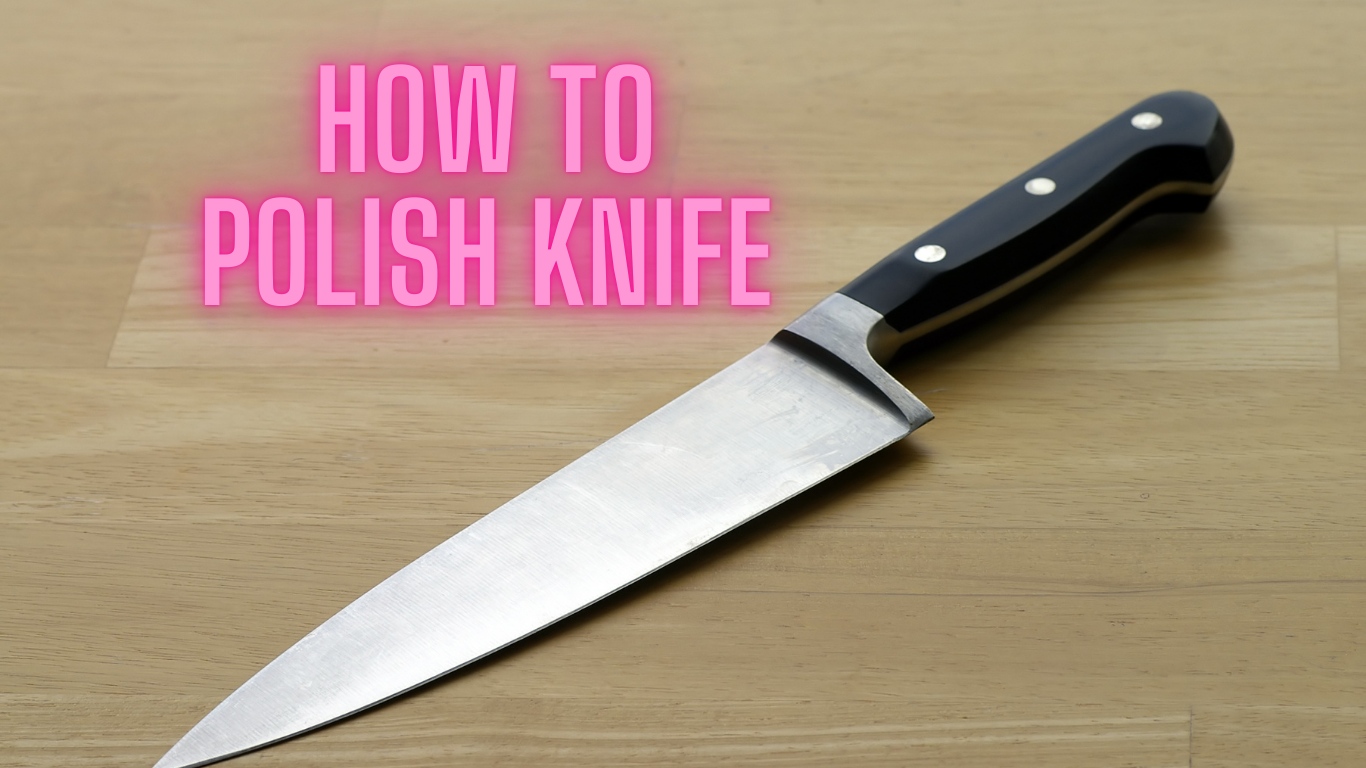
How to Polish Knife: Step-by-Step Knife Care
To polish your knife like a pro, start by gearing up with gloves and goggles for safety. Clean your blade thoroughly, then set up a well-lit, stable workspace.
Grab sandpaper or a bench grinder, progressing from coarse 400 grit to ultra-fine 3000+ grit for a mirror shine.
Apply polishing compound with a buffing wheel for that final luster. Stick with consistent angles and pressure. Hungry for razor-sharp secrets? Keep exploring for more.
Key Takeaways
- Start with a clean knife, removing all grime before polishing for best results.
- Use grit progression from 400 to 8000+ for a mirror-like finish.
- Maintain a consistent sharpening angle of 15°-20° during polishing.
- Apply polishing compounds like chromium oxide with appropriate buffing wheels.
- Dry and oil the knife post-polishing to prevent corrosion.
Essential Safety Precautions
Listen up, blade enthusiasts safety is your first priority when polishing a knife. You’ve gotta handle that blade with precision and respect.
Keep your fingers clear of the edge, always gripping the handle firmly. Cut or move the blade away from your body to dodge any mishaps. Use a claw grip to guide your motions, ensuring your digits stay safe. Using a dull knife increases the risk of slips, so always keep your blade sharp.
Don’t mess around—use the knife only for its intended purpose, never as a makeshift tool. Stay aware of your surroundings to avoid unexpected hazards.
Keep that work surface stable and secure, and don’t overreach while working. A sharp knife is safer, so maintain it diligently. Regular sharpening prevents the need for excessive force, reducing the risk of slips or injuries.
Gathering Necessary Tools and Materials
Before you plunge into polishing your knife, make sure you’ve got all the right tools and materials ready to go. As a dedicated craftsman, you’ll need precision and passion to achieve that mirror finish. Gather essential tools like a bench grinder, rotary tool, and hand files.
Don’t skimp on polishing wheels—sisal and cotton buffing wheels are must-haves. Stock up on compounds like chromium oxide and diamond paste for stellar results. Keep rags, microfiber cloths, and cleaning solutions handy for a flawless process.
Remember to prioritize safety by wearing safety glasses during the entire polishing process to protect your eyes from potential hazards.
Proper sharpening techniques and maintenance are crucial to avoid excessive metal removal that can shorten your blade’s lifespan.
Here’s a quick reference for key items:
| Category | Tool/Wheel | Compound |
|---|---|---|
| Grinding | Bench Grinder | Chromium Oxide |
| Precision | Rotary Tool | Diamond Paste |
| Buffing | Cotton Buffing Wheel | Alumina Compound |
| Aggressive Polishing | Diamond Discs | P2 Green Compound |
| Stabilization | Work Stand | Brass Compound |
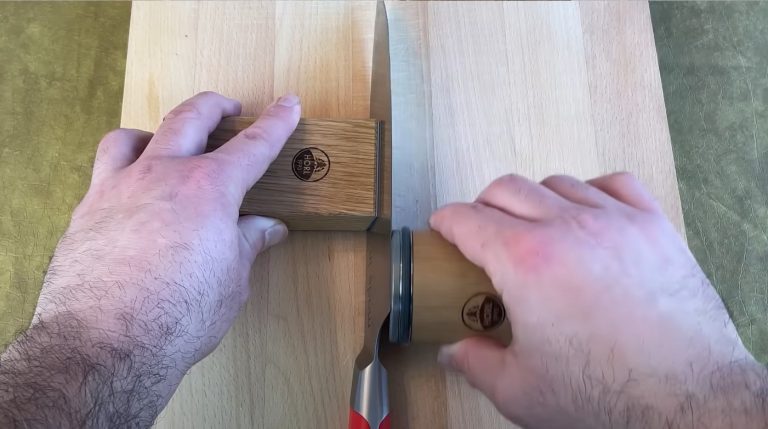
Preparing the Knife for Polishing
Before you start polishing your knife, gear up with safety essentials like gloves and eye protection to shield yourself from abrasives and debris.
Set up your workspace meticulously—ensure it’s clean, well-lit, and equipped with a stable surface to keep your focus razor-sharp. Using a stable cutting surface is crucial to maintain control throughout the polishing process.
Don’t skimp on these preparations; they’re the foundation of a flawless finish! Also, make sure to thoroughly clean the knife to remove all grime before beginning the polishing process.
Safety Gear Essentials
Gear up with the right safety equipment to tackle knife polishing like a pro. You’ve gotta protect yourself from head to toe, so start with face masks or respirators to block metal dust, and pair ‘em with goggles or safety glasses to shield your eyes from debris. Don’t skimp use anti-fog sprays for clear vision.
For your hands, slip on leather or heat-resistant gloves to guard against cuts and burns from sharp edges or hot tools.
Cover up with long sleeves, pants, and a leather apron to keep sparks and debris off your skin. Remember, a dust mask or respirator is crucial to safeguard your lungs from harmful particles during buffing.
Workspace Setup Tips
Now that you’ve got your safety gear sorted, let’s set up a workspace that’ll make polishing your knife a breeze. Choose a spot with ample space and bright lighting to see every detail of your blade’s edge. Remember, maintaining the right sharpening angle during polishing is crucial for the best results.
Position your workbench ergonomically, guaranteeing comfort whether you stand or sit, and keep tools within easy reach to avoid strain. Make sure to have a first aid kit nearby for any minor mishaps during the process.
Feel the thrill of a perfect setup with these tips:
- Secure Your Knife: Use rests or holders to keep your blade steady—protect that edge!
- Organize with Passion: Arrange polishing wheels and compounds for seamless workflow—every second counts!
- Breathe Easy: Guarantee ventilation for chemical safety—your health matters!
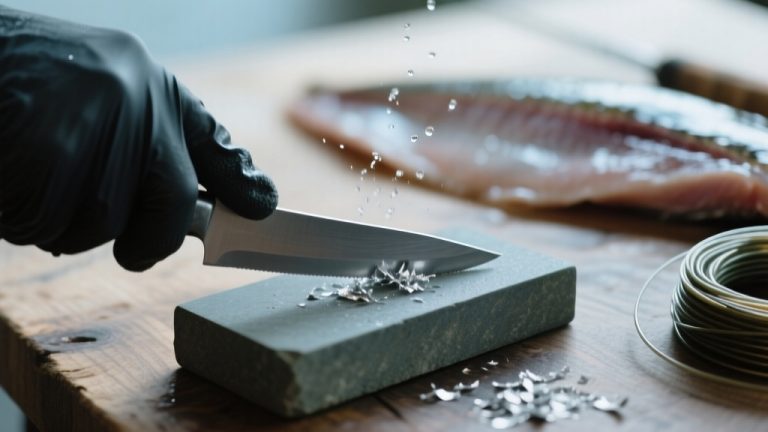
Step-by-Step Polishing Process
Get ready to transform your knife by setting up a clean, well-lit workspace where you can focus on every detail.
Make sure you’ve got the right tools sandpaper in progressive grits, polishing compounds, and microfiber cloths to achieve that flawless shine.
Follow the grit progression meticulously, as it’s the backbone of a mirror-like finish you’ll be proud to show off.
Starting with a coarse grit like 1200, as used in high-quality Matador sandpaper, ensures effective removal of initial marks and scratches grit like 1200.
Prepare Your Workspace
Before you plunge into polishing your knife, make sure your workspace is primed for precision and safety. A flawless finish demands a rock-solid setup, so don’t skimp on preparation.
Work on a stable surface to avoid slips that could ruin your blade—or worse, injure you. Lay down a non-slip mat or damp towel to lock everything in place, and make certain bright, adequate lighting to spot every detail on that edge.
Preparing your knife by cleaning it thoroughly is also essential to ensure no debris interferes with the polishing process cleaning it thoroughly. Regular visual inspections help maintain performance and ensure safety.
Feel the thrill of perfection with these must-haves:
- Clean Area: Banish clutter to sharpen your focus—distractions can’t steal your shine!
- Safety First: Secure every precaution; your safety’s non-negotiable, including wearing cut-resistant gloves and goggles during the process.
- Blade-Ready Zone: Craft a space where precision reigns supreme.
Select Proper Tools
As you commence on the journey to polish your knife to perfection, selecting the right tools is your first critical step. Immerse yourself with passion grab a black heavy cutting compound paired with a red treated buffing wheel for tough initial work.
For that stunning luster, opt for green rouge compound with a pink buffing wheel. If you’re aiming for a chrome-like shine, don’t skip the purple ultra high luster compound with a soft UBM wheel.
Equip yourself with essentials like a safety flange to secure wheels, and microfiber cloths for flawless finishes. Consider Flitz Liquid Polish for metals like stainless steel or brass. Remember, airway buffing wheels are designed to maintain consistent airflow to reduce heat buildup during polishing.
Follow Grit Progression
Dive right into the heart of knife polishing with a meticulous grit progression, the backbone of a razor-sharp edge. You’ve gotta start at 400-800 grit to shape and deburr, then climb to 600-2000 for refining, and finish with 3000-8000+ for a mirror polish.
Remember, efficiency in grit jumps is key to reducing scratch size effectively. Maintaining the proper sharpening angle throughout the process ensures optimal edge performance and durability.
Don’t skip steps keep increments under 3x the previous grit grit jumps efficiency. Maintain a 15°-20° angle, alternate sides, and reduce pressure as you go.
Feel the transformation with each stone:
- Coarse grit (400-800) – Grind away flaws, igniting your passion for precision.
- Mid-range (600-2000) – Witness scratches vanish, fueling your determination.
- Fine grit (3000-8000+) – Achieve a gleaming edge, swelling your pride.
Advanced Techniques for Specific Knives
When you’re ready to elevate your knife polishing skills, mastering advanced techniques for specific knives becomes essential. Choosing the right sharpening stone, such as a dual-sided whetstone, can greatly enhance your polishing precision.
Immerse yourself in mirror finishing with high-grit whetstones and polishing compounds to make your blade gleam.
For Japanese Deba knives, use the Kobatsuke technique, lifting the edge slightly on the stone for razor-sharp precision.
Polish the backside with Uraoshi to eliminate burrs on high-carbon steel knives, ensuring evenness.
Master the Uraoshi technique to refine the backside of high-carbon steel knives, removing burrs for a perfectly even edge.
Vary your angles—shallower at the tip, steeper at the heel—for peak performance on Damascus blades, protecting their intricate layers.
Keep whetstones wet and apply consistent pressure for flawless results, as water-based stones require proper soaking and maintenance for optimal use.
Tackle stainless steel with ease, but handle ceramic knives with specialized tools.
Embrace these methods, and you’ll transform every knife into a masterpiece.
Remember that achieving a mirror polish requires significant time and effort, along with the right equipment for stunning results.
Avoiding Common Polishing Errors
Before you start polishing your knife, recognize that even seasoned sharpeners can stumble over common pitfalls that dull your blade’s potential.
Don’t let errors rob you of that razor-sharp edge you crave. With precision and care, you can avoid mistakes that haunt every craftsman’s journey.
Feel the frustration fade as you dodge these traps:
- Incorrect Angles: Don’t butcher your blade with erratic 15-20 degree shifts—use an angle guide to lock in perfection. Maintaining a consistent angle is crucial for optimal sharpening.
- Inconsistent Pressure: Stop denting your edge with uneven force; apply steady, mild pressure for flawless results.
- Rushing the Process: Don’t sabotage your work by hurrying—savor each stroke for a polished masterpiece.
- Neglecting Stone Care: Avoid uneven wear by using the entire surface of your sharpening stone entire stone surface.
Caring for Your Polished Knife
Now that you’ve mastered avoiding common polishing errors, let’s focus on preserving that mirror-like finish and razor edge.
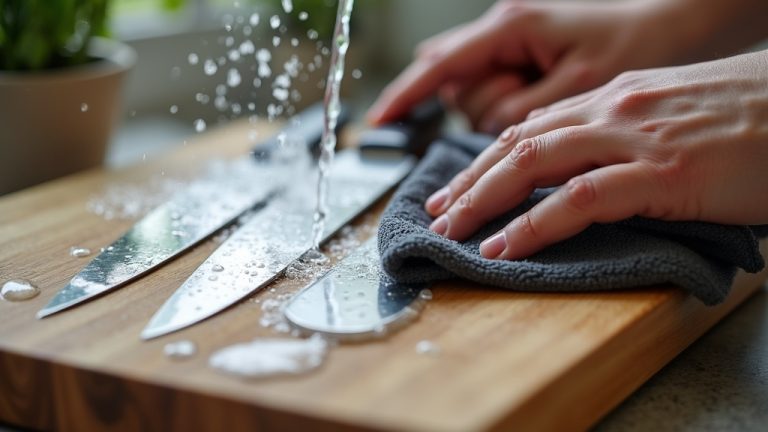
After polishing, dry your knife immediately to prevent corrosion, then apply a thin layer of food-safe oil like mineral oil.
Inspect under bright light for residue, handling with a lint-free cloth to avoid scratches.
Clean with warm soapy water and a soft-bristle brush, rinsing thoroughly and patting dry to dodge water spots.
Store in a breathable sheath or on a magnetic strip, using silica gel packs to control humidity.
For high-carbon steel, let a natural patina form and oil more frequently.
Regular cleaning after each use helps prevent blade damage and maintains the polished look.
Avoid acidic foods on unpatinaed blades and harsh chemicals.
Keep that edge pristine with passion and precision!
Frequently Asked Questions
How Long Does Knife Polishing Typically Take?
Hey, you’re wondering how long knife polishing typically takes? Immerse yourself with focus!
For basic polishing, you’ll spend 20-40 minutes on rough to medium grits. Crave that mirror finish? Add 15-30 minutes for high grits.
Full restorations with rust or deep scratches? Expect 60-90 minutes.
If you’re using machine tools, slash that time by 30-50%. Master your skill, and you’ll cut durations while achieving flawless results!
Can I Polish a Ceramic Knife Myself?
Ever wondered if you can master the art of refining a ceramic knife on your own? Absolutely, you can polish it yourself!
Grab diamond sharpening stones and high-grit tools, and set up a stabilizing base. Use precise parallel strokes for coarser grits, then switch to perpendicular for finesse.
Adjust angles meticulously with an angle guide. With passion and patience, you’ll achieve a stunning, mirror-like finish!
What’S the Cost of Professional Knife Polishing?
Hey, let’s explore the cost of professional knife polishing!
You’ll find prices vary based on factors like material, size, and condition. Expect to pay $5 to $15 per blade for basic services, while advanced or custom polishing can climb higher.
Bundle deals might save you cash, and same-day or mail-in options impact costs too.
Choose a provider wisely—your blade’s shine depends on their expertise!
Is Polishing Necessary for All Knife Types?
Hey, let’s explore whether polishing is necessary for all knife types.
You don’t need to polish every blade—it’s all about purpose and style.
High-end or chef’s knives? Polish ‘em for killer looks and performance.
Utility or basic knives? Skip it unless you’re after a refined edge.
Hunting knives? Polish for better edge retention.
Match your effort to the knife’s role, and you’ll keep ‘em in top shape!
How Often Should I Polish My Knife?
Hey, how often should you polish your knife?
Imagine you’re a home cook slicing tomatoes daily—within a month, your blade slips instead of grips. Don’t wait for that!
Polish every 1-2 months if you’re a regular user. Push it to weekly if you’re a pro, or every 2-3 months for occasional use.
Factor in usage intensity, knife hardness, and maintenance habits. Keep that edge razor-sharp, always!
The Final Polish: Now Rule Your Kitchen with Confidence
You’ve polished your knife, a gleaming knight ready for battle in the culinary domain! Guard this shining warrior with care, for it’s not just steel, but a symbol of your dedication.
Don’t let neglect tarnish its honor—store it safely, clean it promptly, and wield it with pride.
Keep honing your skills, and let this blade carve paths of precision and passion through every challenge in your kitchen kingdom.