How to Sharpen Single Bevel Knife: Achieve the Perfect Edge
To sharpen a single bevel knife, start by gathering your tools like whetstones and a clean cloth. Wash the knife, then soak your whetstone for 10-15 minutes.
Maintain a consistent angle around 15-20 degrees while sharpening the bevel side, applying light pressure. Don’t forget to polish the hollow side lightly to refine the edge.
Finally, strop the blade for a fine finish. There’s more to know about maintaining your knife effectively.
Key Takeaways
- Use a whetstone with the appropriate grit, starting with a lower grit for initial sharpening and finishing with a higher grit for polishing.
- Maintain a consistent angle of 10-15 degrees while sharpening the bevel side to ensure proper edge geometry.
- Apply light to moderate pressure, increasing pressure for initial burr formation and decreasing for polishing to achieve a razor-sharp edge.
- Regularly check for a burr along the cutting edge and remove it carefully before honing the knife for a final finish.
- Clean the knife immediately after sharpening, drying it completely to prevent rust and maintain blade integrity.
Preparation Steps for Sharpening
Before you start sharpening your single bevel knife, there are several essential preparation steps to follow.
First, gather the necessary tools: whetstones of varying grits (1000, 3000, 6000), a nagura stone for slurry, a flattening stone, a clean cloth, and a non-slip surface or stone holder. Sharpening stones are crucial for achieving the desired edge sharpness.
It’s also important to know that sharpening angle is typically between 10-15 degrees for single bevel knives.
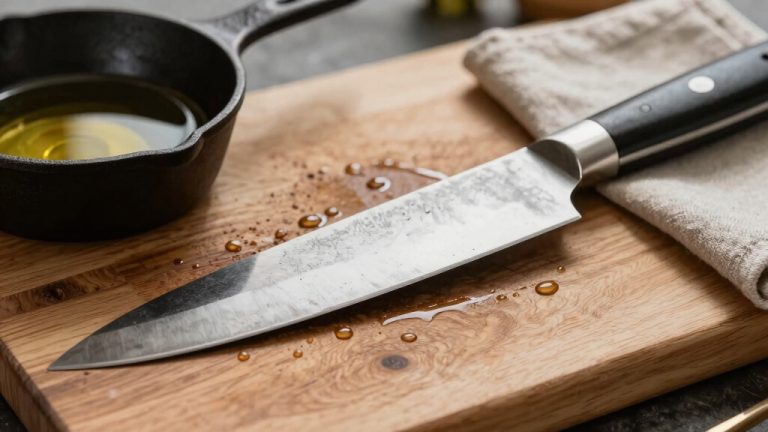
Next, clean and inspect your knife. Use warm water and mild dish soap to remove dirt and debris, then rinse and dry it thoroughly.
After this, set up your sharpening station by placing the whetstone on a stable, non-slip surface and soaking it in water for 10-15 minutes.
Sharpening Single Bevel Knives: Techniques Explained
How do you guarantee that your single bevel knife reaches its ideal sharpness? Start by maintaining a consistent 30-degree angle against the whetstone. Raise the tip of the bevel side by about 3 degrees for final honing.
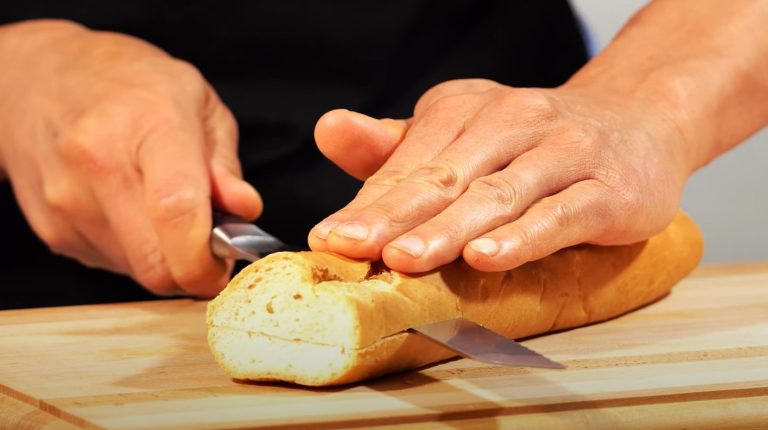
It’s essential to feel for a burr along the cutting edge and remove it carefully. Single bevel knives are designed to excel in slicing and filleting meat and fish, which makes their sharpness crucial for performance.
Regular visual inspections help ensure that your knife maintains its effectiveness and safety. Use the following table to better understand the sharpening technique:
| Step | Action | Angle Recommendation |
|---|---|---|
| Initial Sharpening | Start with coarse grit | 45 degrees |
| Burr Detection | Feel for burr with fingers | N/A |
| Burr Removal | Sharpen back flat against stone | N/A |
| Final Honing | Micro-bevel for toughness | 3 degrees |
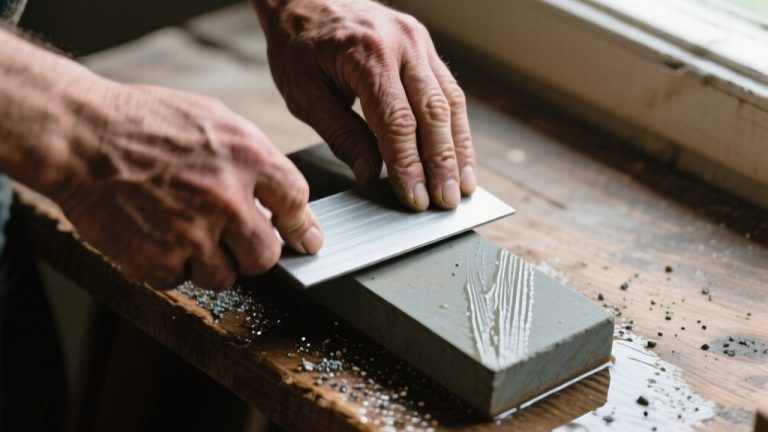
Sharpening the Bevel Side
When sharpening the bevel side, it’s essential to maintain a consistent angle between 15 and 20 degrees. Applying light to moderate pressure will help you achieve the desired edge without compromising the blade’s geometry.
Focus on adjusting your pressure based on the grit of the stone you’re using to guarantee effective sharpening. Additionally, it is crucial to follow correct techniques to avoid damaging the knife during the sharpening process.
Proper Angle Maintenance
Maintaining the original bevel angle is essential for your single bevel knife’s performance. Typically, this angle ranges from 15 to 20 degrees.
To guarantee proper geometry, match the sharpening angle with the existing bevel. You can use an angle guide or visually align with the existing bevel.
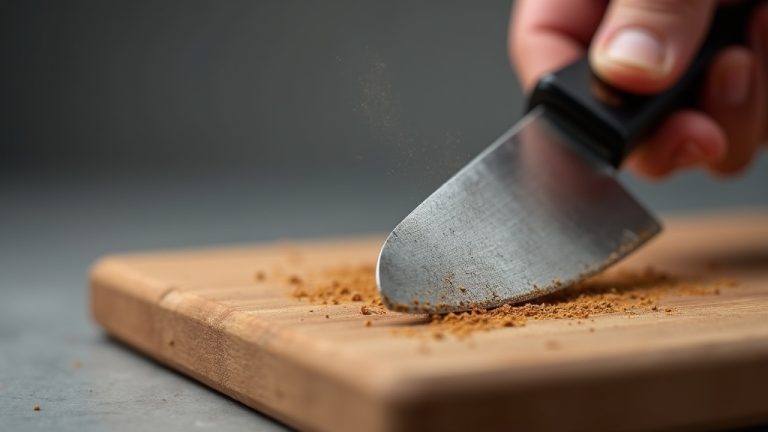
When sharpening, hold the knife at a 45-degree angle to the whetstone and place your fingers just below the shinogi line for stability. Use a pushing motion away from the edge, focusing on moving from the heel to the tip while maintaining the angle.
Aim for 20 to 30 strokes per section, making certain the shinogi line remains straight. Properly sharpened knives improve cutting efficiency, as an improper angle can damage the knife’s geometry and overall performance.
Consistent Pressure Application
Achieving a razor-sharp edge on your single bevel knife hinges on applying consistent pressure while sharpening. This approach guarantees even metal removal across the blade, preventing uneven bevels and maintaining the knife’s original geometry.
Start with heavy pressure to form an initial burr on dull blades, then shift to moderate pressure for general sharpening. As you refine the edge, lighten your pressure for polishing and creating a micro-bevel.
Use your arm weight instead of muscle force for better control, and check your pressure by feeling the blade’s contact with the stone. Be cautious of excessive or insufficient pressure, which can lead to damage or ineffective sharpening.
Burr formation is essential to ensure you are sharpening correctly, so monitor for an even burr from tip to base. Adjust your pressure based on the blade’s section and the sharpening stage for peak results.
Hollow Side Sharpening Techniques
To effectively sharpen the hollow side of a single bevel knife, it’s crucial to focus on the uraoshi, the flat area on that side. Use a flat stone and apply light pressure to maintain the original shape of the concave back. Proper sharpening ensures that the knife retains its blade geometry for optimal performance.
Here are three key steps to follow:
- Perform 1-2 strokes on the uraoshi for every 8-10 strokes on the bevel side.
- Flip the knife after sharpening the bevel side and use light pressure to remove any burr from the hollow side.
- Regularly maintain the concavity by using smaller stones or finger stones, ensuring you preserve the factory grinding.
The Finishing Process
The finishing process is essential for achieving a sharp and polished edge on your single bevel knife.
Start by switching to a fine grit stone, around 8000 grit, to remove scratches left by coarser stones. Sharpen both the hollow ground and bevel sides, maintaining a 9:1 bevel to hollow pass ratio until the wire edge is removed.
Ensure that you maintain knife maintenance throughout the sharpening process to enhance the longevity of your blade.
Next, create a micro-bevel by raising the tip of the bevel side about 3 degrees and honing for 6-7 strokes. To remove the burr, use a strop or very fine diamond stone, applying it at a 90-degree angle without using too much strength.
Finally, polish both sides, using newspaper to eliminate any remaining burr, and clean the knife with a cloth.
Common Mistakes to Avoid
While sharpening your single bevel knife, it’s essential to be aware of common mistakes that can hinder your efforts.
Avoiding these pitfalls will help maintain your knife’s effectiveness and longevity:
- Incorrect Angle: Always maintain a consistent 15-17 degree angle. Too steep or too shallow will create an uneven edge or weaken it, leading to chipping.
- Over-sharpening: Don’t sharpen excessively. This removes metal and can thin the edge, making it prone to breaking.
- Improper Stroke Direction: Follow the natural curve of the blade. Changing direction or applying inconsistent pressure can create jagged edges and reduce sharpening effectiveness.
Tips for Maintaining Your Knife After Sharpening
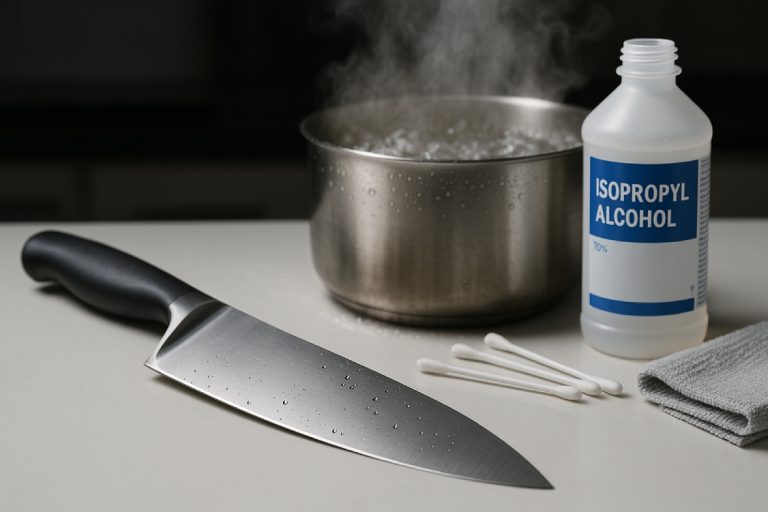
To keep your single bevel knife in top shape after sharpening, focus on regular cleaning and proper storage. Always wash it by hand with mild soap and dry it thoroughly to prevent corrosion.
Store it safely in a knife block or on a magnetic strip to protect the blade from damage. Regular sharpening prevents excessive blade wear and prolongs the knife’s lifespan, ensuring it remains effective for all your cutting needs.
Regular Cleaning Practices
Maintaining your knife after sharpening is essential for its longevity and performance. Regular cleaning practices help prevent food residue buildup and protect the blade. Here are three important steps to follow:
- Wash Immediately: Use warm, soapy water and a soft sponge. Hold the knife flat against the sink wall to clean both sides gently. Avoid soaking it or using abrasive materials.
- Rinse and Dry: Rinse thoroughly to remove all soap residue, then dry the knife completely with a clean towel. This prevents rust and stains. Additionally, it is crucial to keep the blade dry to maintain its integrity.
- Address Rust Promptly: If you notice any rust, use Bar Keeper’s Friend or baking soda to scrub gently. Always dry the knife after cleaning to avoid recurrence.
Proper Storage Techniques
Proper storage techniques are essential for preserving the sharpness and integrity of your single bevel knife.
Store your knife in a dedicated knife block or on a magnetic strip to avoid loose storage in drawers, which can cause damage. Keeping it away from high-humidity areas to prevent rust is crucial, and ensuring the blade is protected from contact with other utensils is equally important.
Using knife racks provides accessibility and organization while also protecting the blades from damage. Regular maintenance, such as inspecting stored knives for signs of corrosion, is also key to maintaining their condition.
Use blade guards or wrap your knife in cloth when not in use. Organize your knives by size or type for easy access and keep frequently used ones in accessible locations.
Always make sure your knife is completely dry before storage and apply food-grade mineral oil to carbon steel blades.
Frequently Asked Questions
How Often Should I Sharpen My Single Bevel Knife?
You should sharpen your single bevel knife based on how often you use it. If you’re a frequent cook, aim for every 1-2 months.
For professional chefs, weekly sessions are ideal. Occasional users can wait 2-3 months between sharpenings.
Keep an eye out for signs like difficulty slicing or visible nicks; these indicate it’s time for a touch-up.
Regular maintenance with a honing rod can also help prolong your knife’s sharpness.
Can I Use Electric Sharpeners for Single Bevel Knives?
You shouldn’t use electric sharpeners for single bevel knives.
They’re designed for double bevel blades and can damage the unique geometry of your knife. Electric sharpeners might create unwanted secondary bevels and remove too much material, impacting performance.
Instead, opt for manual sharpening with whetstones or water stones. These methods give you better control over the angle and pressure, helping to maintain the knife’s precision and traditional blade characteristics.
What Is the Best Material for a Whetstone?
So, you’re on a quest for the holy grail of whetstone materials?
Well, it’s a bit like choosing the best superhero—each has its strengths!
If you want durability, diamond stones can’t be beat.
For a classic touch, natural stones like Arkansas are your go-to, though they’re pricey.
If you need speed, synthetic waterstones are your trusty sidekick.
Ultimately, pick the one that suits your sharpening style and needs best!
How Do I Know When My Knife Is Sharp Enough?
You’ll know your knife is sharp enough when it effortlessly cuts through paper with clean, straight lines, showing no signs of tearing.
Try slicing through a tomato; if the blade pierces the skin without pressure and produces thin slices, it’s sharp.
Additionally, check if it cleanly shaves hair without pulling.
If the edge feels “sticky” when you run your thumb across it, you’ve achieved a sharp, effective blade.
What Should I Do if My Knife Has Chips?
If your knife has chips, don’t panic; assess, prepare, and remove.
First, locate the chip with your fingernail, determining its size and depth.
Next, select a coarse sharpening stone and guarantee it’s flat. Grind at a 90-degree angle, applying moderate pressure, then feather out to avoid low spots.
Finally, reprofile the edge and test for sharpness.
Your Knife, Your Masterpiece: Keep It Sharp and Ready for Action
Now that you’ve got the know-how to sharpen your single bevel knife, it’s time to put your skills to the test.
Remember, practice makes perfect, and soon you’ll be slicing through tasks like a hot knife through butter. Keep your knife maintained and follow the techniques outlined, avoiding common pitfalls to guarantee longevity.
With a sharp knife in hand, you’ll be ready to tackle any culinary challenge that comes your way.