How to Sharpen a Bread Knife: Step-by-Step Guide
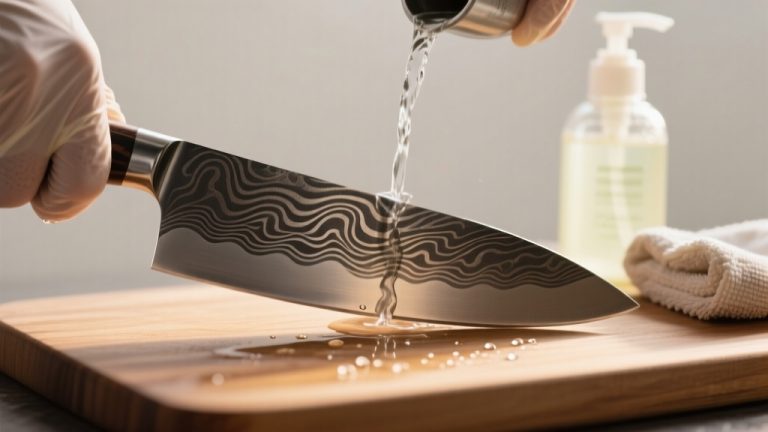
To sharpen your bread knife, grab a ceramic or diamond rod that matches the serrations, typically 8mm to 14mm.
Secure the knife with the beveled side up, and hold the rod at a 13-20 degree angle. Work each gullet with short, light strokes, rotating the rod slightly for even wear.
Check progress visually and deburr the flat side lightly. Stick around to uncover more tips and tricks for flawless slicing.
Key Takeaways
- Focus on the beveled side of the bread knife, sharpening each gullet at a 15-20 degree angle.
- Use a tapered ceramic or diamond rod matching serration size for effective sharpening.
- Apply light, short strokes on each gullet, rotating the rod slightly for even wear.
- Remove burrs on the flat side with minimal strokes to maintain edge integrity.
- Check progress visually, adjusting for varying serration sizes to ensure clean slicing.
Bread Knife Sharpening Basics
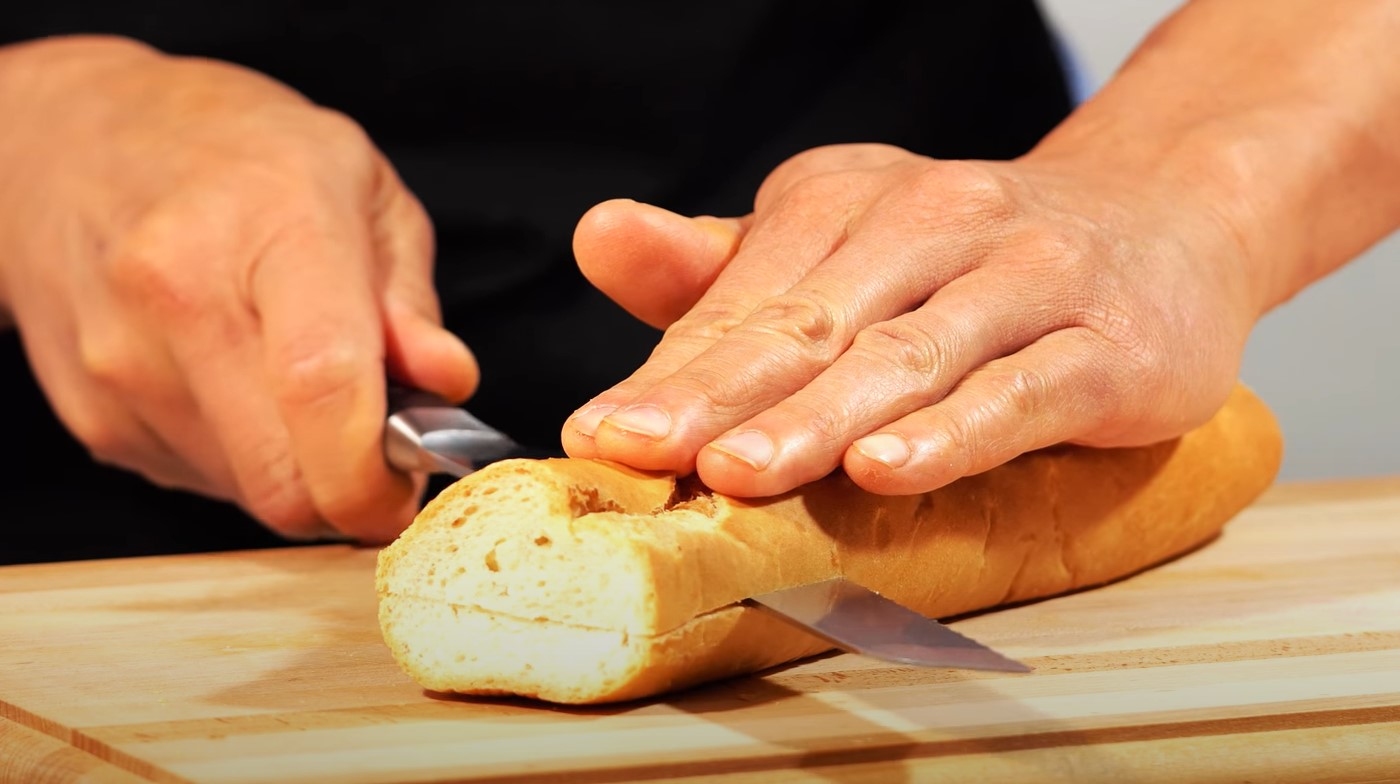
Why is sharpening a bread knife so different from a regular chef’s knife?
You’re dealing with a serrated edge, designed with tooth-like protrusions that pierce hard crusts and slice soft interiors with a sawing motion.
Unlike a chef’s knife’s straight edge, you must focus on sharpening the individual gullets—those curved valleys between points—primarily on the beveled side.
The flat side only needs light strokes to remove burrs.
Keep your angle consistent, usually 15-20 degrees, and use light pressure to preserve each serration’s shape.
For effective sharpening, utilize tapered rods to accommodate different serration sizes.
Regular maintenance of serrated knives ensures they remain effective for slicing tasks over time with minimal pressure.
Recognize dullness when bread crushes or crumbs excessively, or if cuts require more force.
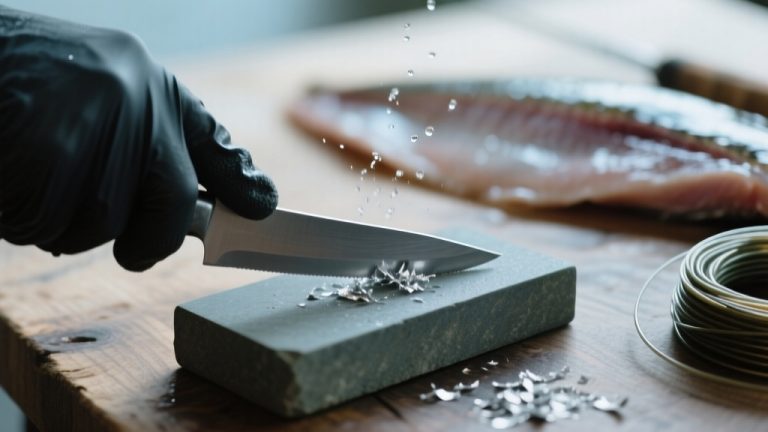
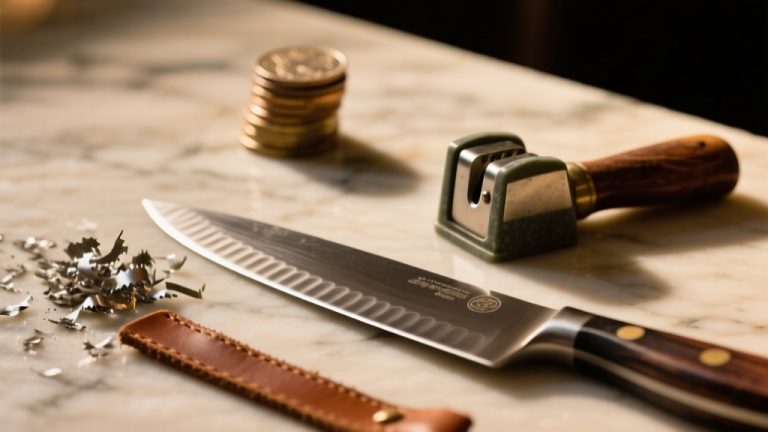
Essential Tools for Sharpening Serrated Edges
Equipping yourself with the right tools is essential for effectively sharpening a serrated bread knife. You’ll need a tool that matches your blade’s gullet size and condition.
Ceramic rods work best for regular maintenance, while diamond rods tackle dull or damaged edges with aggressive material removal. Tapered rods, available in both materials, adapt to varying serration sizes.
Consider alternatives like chainsaw files for precise fits or triangle-shaped sharpeners for V-shaped gullets. Remember that using inappropriate tools, such as flat stones, can be ineffective for serrations.
For optimal results, many experts recommend sharpeners featuring diamond abrasives for efficient sharpening of serrated knives.
Here’s a quick guide to key tools:
| Tool Type | Best Use Case |
|---|---|
| Ceramic Rod | Maintenance of slightly dull edges |
| Diamond Rod | Reshaping damaged or very dull edges |
| Chainsaw File | Precise fit for round gullets |
| Triangle Sharpener | V-shaped serrations |
| Specialty Electric Sharpener | Automated serrated edge sharpening |
Step-by-Step Guide to Using a Sharpening Rod
Let’s dive into the precise process of sharpening your serrated bread knife with a sharpening rod.
First, identify the beveled edge—usually one side—and select a ceramic or diamond-coated rod matching your serrations’ diameter, typically 8mm to 14mm.
Begin by locating the beveled edge of your serrated knife and choose a ceramic or diamond-coated rod to match the serrations’ diameter.
Secure the knife on a table edge, beveled side up, and hold the rod perpendicular in your dominant hand. For safety, ensure you use specialized honing rods designed for serrated blades to prevent damage.
Start at the handle, placing the rod in the first gullet at a 13-20 degree angle to match the bevel.
Use short, controlled strokes with light pressure, pushing away from the edge, and rotate the rod slightly for even wear.
Sharpen each gullet individually, checking progress visually.
Be sure to adjust the rod if serration sizes vary along the blade for consistent sharpening.
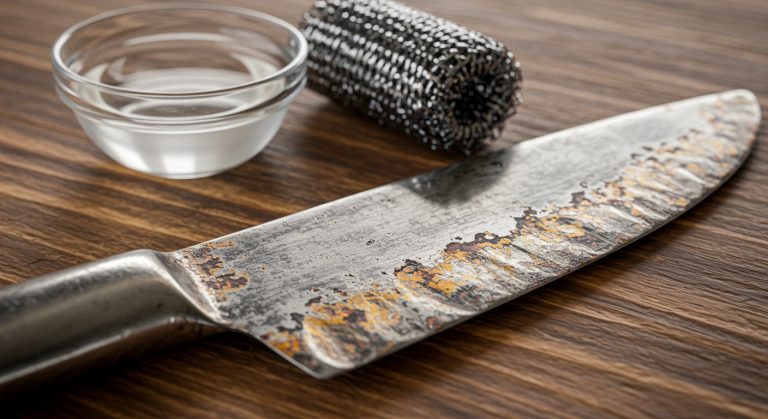
Alternative Methods for Restoring Sharpness
Versatility is key when sharpening a serrated bread knife, especially if you don’t have a sharpening rod handy.
Try the ceramic mug method: use the unglazed bottom ring, hold your blade at a 15-20 degree angle, and stroke each side 10-15 times, reducing pressure gradually.
Clean metal filings off afterward. To ensure optimal results, incorporate honing oil when using a leather belt for refining the edge.
Alternatively, wrap fine-grit sandpaper (400-1000 grit) around a pen or dowel that fits the serrations, stroking along each beveled edge in one direction.
You can also craft a DIY dowel sharpener by attaching abrasive paper to a rounded stick, filing each serration’s beveled side.
For honing, strop the blade on corrugated cardboard with light, consistent passes to realign the edge and remove burrs effectively.
Exploring Professional Sharpening Services
If you’ve tried alternative sharpening methods at home and still aren’t satisfied with the results, seeking out professional sharpening services can be a game-changer for your bread knife.
Professionals restore its ability to glide through crusts effortlessly, ensuring clean slices with minimal tearing.
They use specialized tools like ceramic rods or Tormek sharpeners to sharpen each serration precisely, focusing on the beveled side and polishing for a smooth edge. For instance, ceramic honing rods offer a gentle approach that helps maintain the blade’s integrity without causing unnecessary wear.
This extends your knife’s lifespan and enhances safety by reducing slip risks.
Additionally, these services often cater to various bread knife types, ensuring compatibility with straight or offset handles.
Find services at local cutlery stores, hardware shops, or farmers’ markets, or search online for “professional knife sharpening near me.”
Mail-in options exist too, though verify their expertise with serrated blades.
Frequently Asked Questions
Can Bread Knives Be Sharpened at Home Safely?
Yes, you can sharpen bread knives at home safely if you’re cautious and prepared.
Use a ceramic or diamond-coated sharpening rod that matches the serration size, and secure the knife on a stable surface to avoid slips.
Don’t rush; sharpen each gullet individually with steady, controlled strokes.
Avoid flat stones or improper tools, as they’ll damage the blade.
With patience and the right equipment, you’ll succeed without injury.
How Often Do Bread Knives Lose Sharpness?
Ever wonder why your bread knife doesn’t cut like it used to?
You’ll notice sharpness fading based on how often you use it—daily slicing dulls it faster than weekly use.
Hard crusts and cutting surfaces like stone wear it down quicker.
With average home use, expect a loss every 1-2 years.
Heavy use? You’re looking at more frequent dulling.
Check for reduced efficiency to know it’s time.
Is Sharpening Worth It for Inexpensive Bread Knives?
Hey, when you’re wondering if sharpening inexpensive bread knives is worth it, consider the costs first.
For knives in the $10-$20 range, professional sharpening at $9-$20 per knife often rivals replacement costs.
DIY tools cost $10-$40, and your time adds up too.
Since cheap steel dulls fast, replacing every 5-10 years is usually smarter.
Save the effort—unless it’s a $20-$50 knife, just buy a new one.
What Causes Bread Knives to Dull Faster?
Ever wonder how your bread knife loses its bite so quickly?
You’re slicing through tough, crusty loaves, and the friction grinds away microscopic metal, dulling the edge.
Hard cutting boards wear down those serrated points with every cut.
Softer steel in many knives can’t withstand the stress, while improper storage and hard surfaces accelerate damage.
Don’t forget, moisture and acidic foods corrode the blade, hastening dullness with ruthless precision.
Can Sharpening Damage a Bread Knife’S Serrations?
Yes, sharpening can damage a bread knife’s serrations if you’re not careful.
Use improper tools like flat stones or thick rods, and you’ll risk flattening or unevenly wearing the teeth.
Apply excessive force, and you might harm the blade.
Don’t sharpen the flat side; it’ll ruin the knife’s integrity.
Avoid electric sharpeners unless specialized, as they can grind off serrations.
Stick to precise, controlled methods to protect your blade.
Slice Like a Pro—Keep That Bread Knife on Point
Now, you’ve got the know-how to keep your bread knife razor-sharp! Picture yourself slicing through a crusty loaf, the blade gliding effortlessly, crumbs falling like soft snow.
Don’t let a dull edge ruin your kitchen game—grab that sharpening rod or seek a pro if needed. Maintain this essential tool with precision, and you’ll conquer every slice with confidence.
Keep cutting clean, and let your culinary creations shine every time.